Speare-Mattana Bread
 800 x 600 / 2048 x 1536 |
 800 x 600 / 2048 x 1536 |
 800 x 600 / 2048 x 1536 |
|
This recipe is adapted from a few sources. The ingredient list and the starter came from the "Rustic Bread" recipe in a Cooks Illustrated book (The Best Recipe). If you've never made a bread like this, start with that recipe. It's super simple and a great bread. The method is really from a bunch of time I spent with the Le Brea cookbook. Especially the timing around fermenting/proofing. Hydration and flour types manipulation was based on some reading I did in Levy's Bread Bible and in Scott/Wing's Bread Builders. Finally, the recipe really took shape, as yours should too, by making and remaking and thinking about what you want your bread to look/taste/feel like when it's done. Our goal was to make a multi-purpose, do-everything bread that we could bake by sort of working into the background of our daily tasks. The bread had to store well for long bike trips (must do ok for 3-4 days); it had to have more than 50% whole wheat; Liza really wanted it to have an accessible crust with a nice chew. We didn't want to have to haul out the electric mixer every day -- it had to be easy to make. We made 3 loaves a day for about a month until we hit a reproducible and good bread. It also took a couple weeks just to build the flavor in the starter. Then we fussed with some particulars to get more wheat into it and now we're calling it done. IngredientsPart of making the bread less fussy to make was to convert all measurments from weight to volume. I'll add weight at some point if folks want that. Here's the basic ingredient list. Starter
Dough
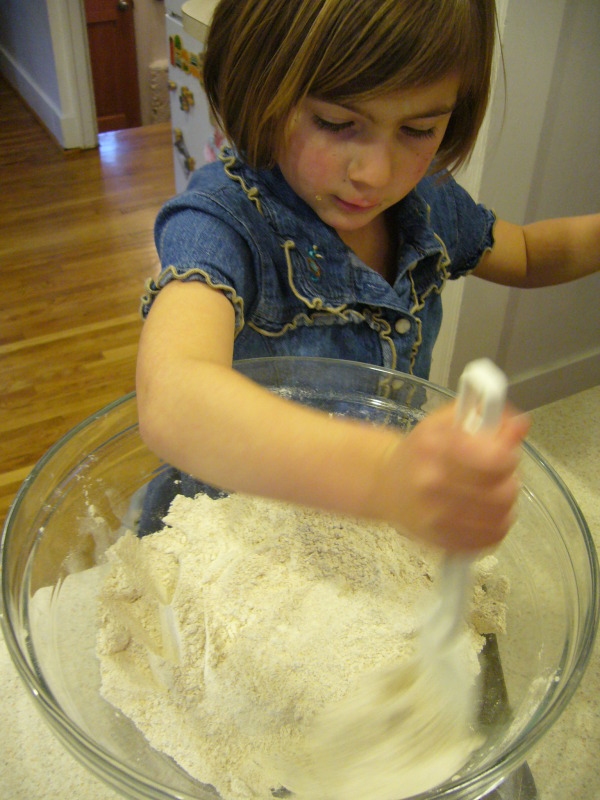
Some notes on ingredients. MethodOne huge component of breads that we like to eat is flavor. Most breads lack flavor. Flavor is created in part by the interaction of ingredients (flavor of whole wheat, honey, salt), but also by bacteria that is the by-product of the yeast activity. The bacteria takes time to develop and if developed incorrectly, you get funk, which is no good. So, the main part of this bread is not to rush it. It takes time. Note the small amount of yeast you're putting in. All up, when the starter is mature, you're looking at just over a 1/4 tsp of yeast per batch. That's because you are favoring time instead of yeast to develop the bread. Both are necessary though. Mix the starterDump all the starter ingredients into a bowl and mix. Mix the Dough
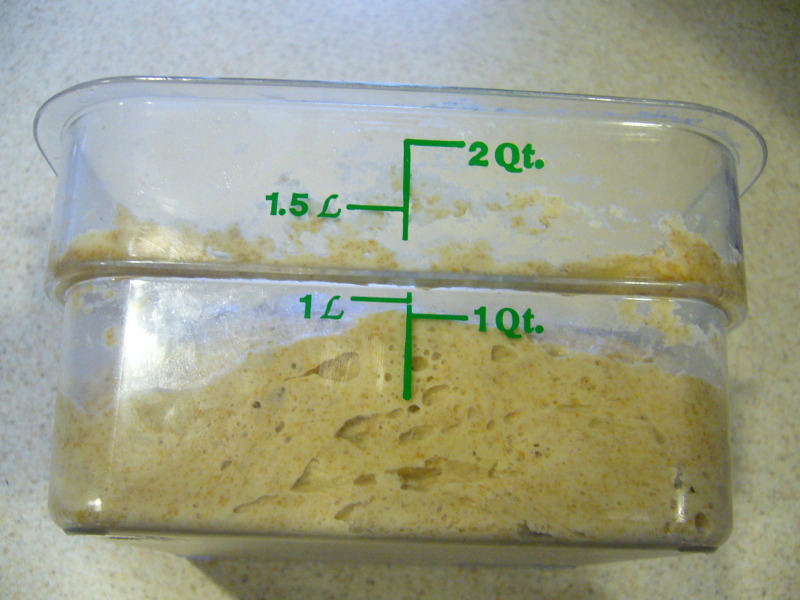
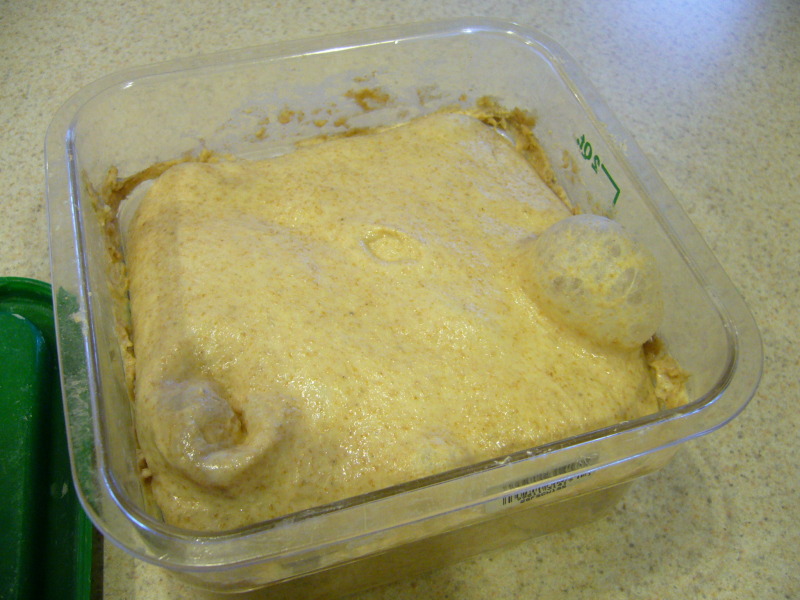
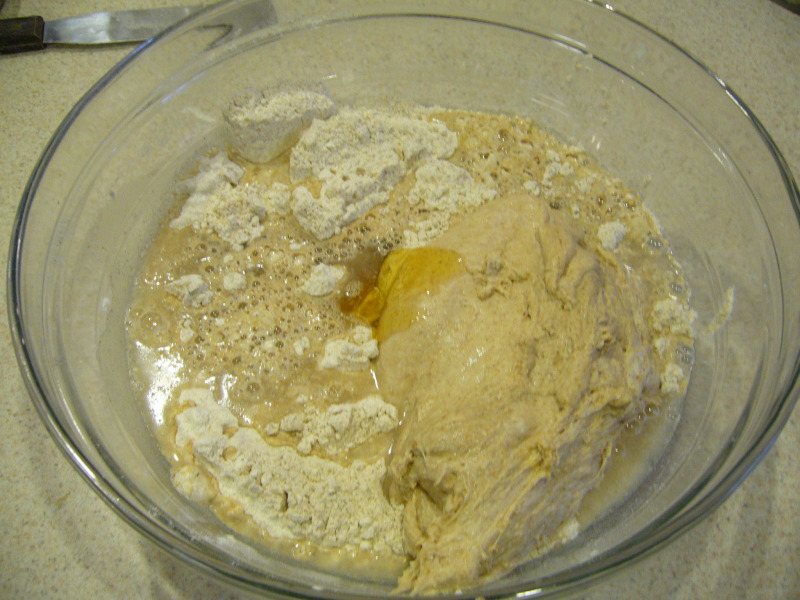
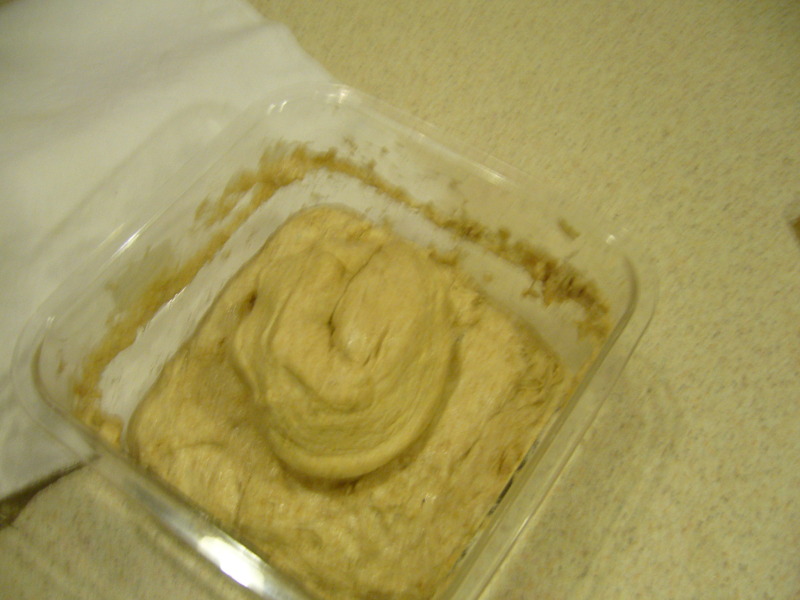
Be sure the starter is at room temp. If it's been in the refrigerator, let it sit out for an hour or two to come up to temp. If the starter is new, it will look pretty lifeless. After a couple months of making this bread it will show some life after you take it out and let it rest on the counter. You'll see lots of small bubbles on the underside (always put your dough in glass or plastic that you can see through. Then you know what it's doing under the covers). In some cases, you might see a big old slow bubble rising off the surface. You know it's time to mix when you see that. Anyway, mix the dough in this way:
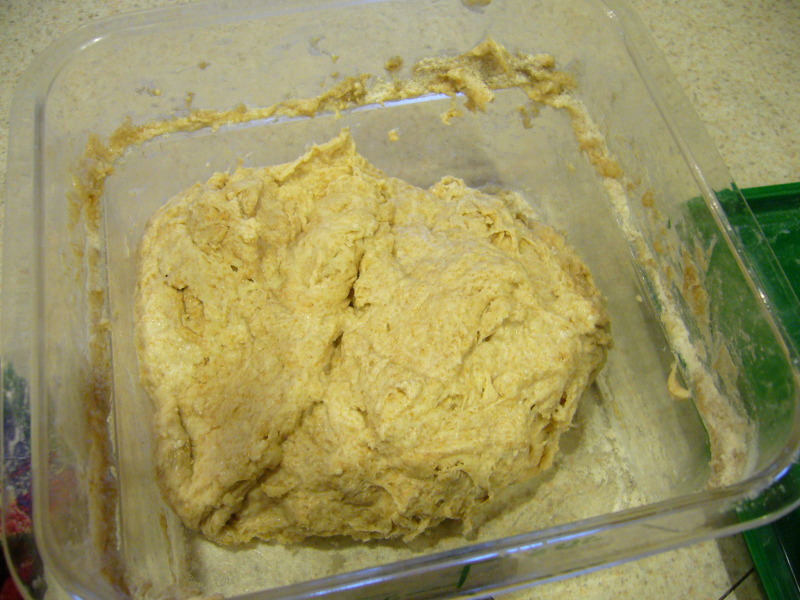
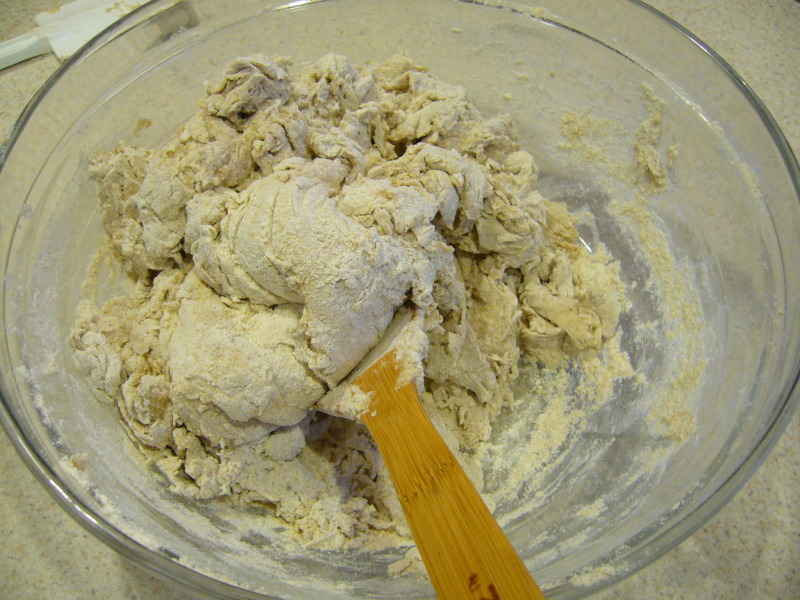
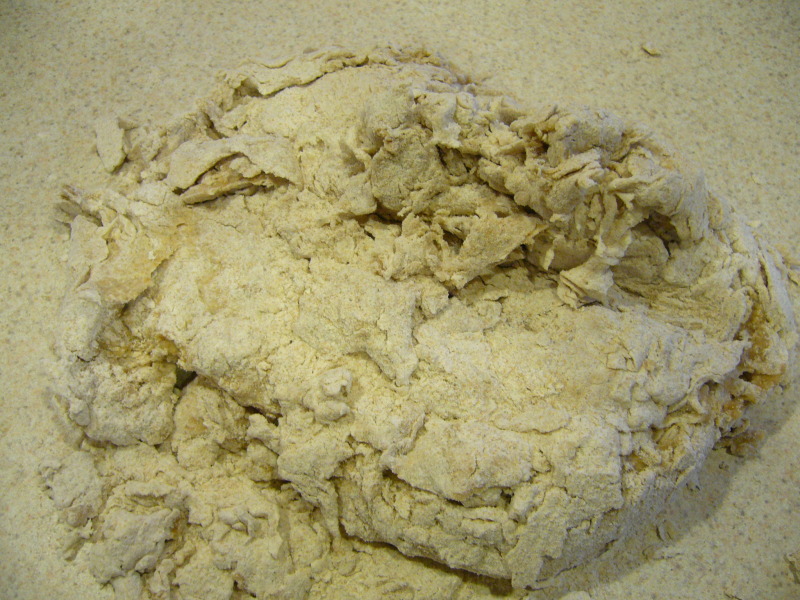
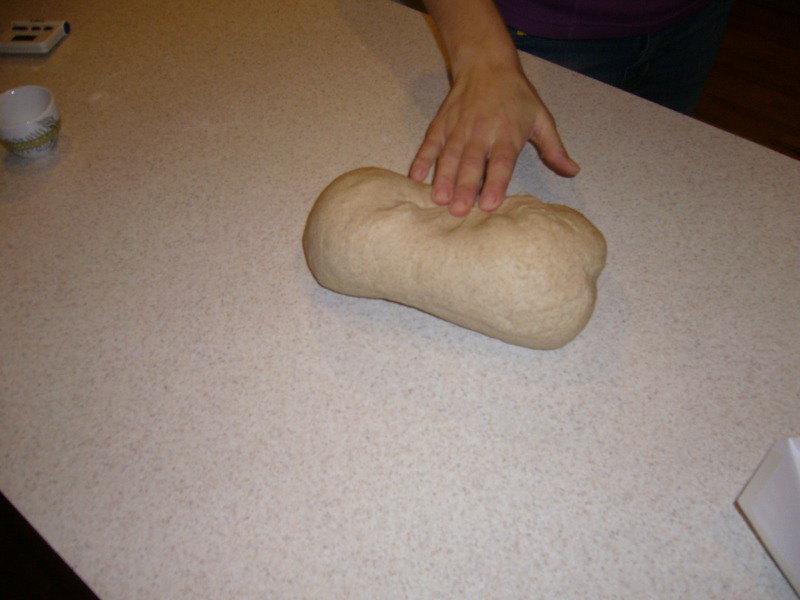
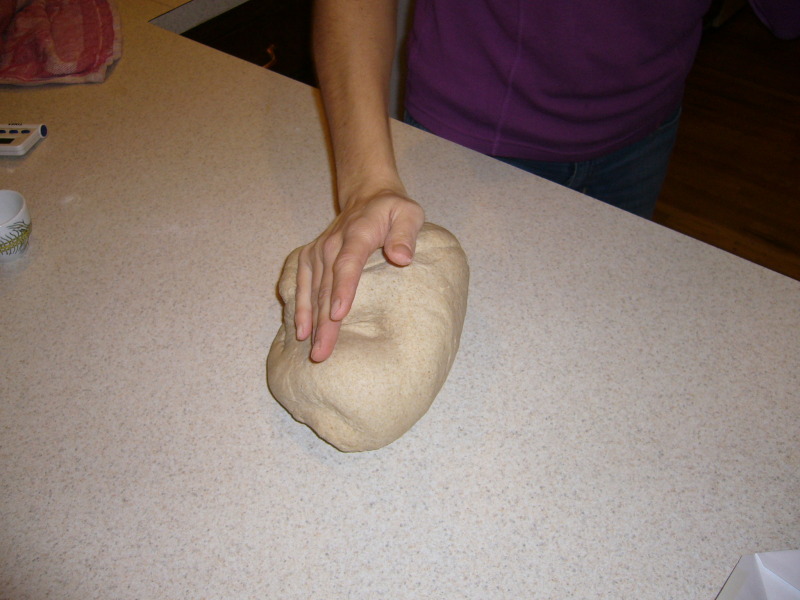
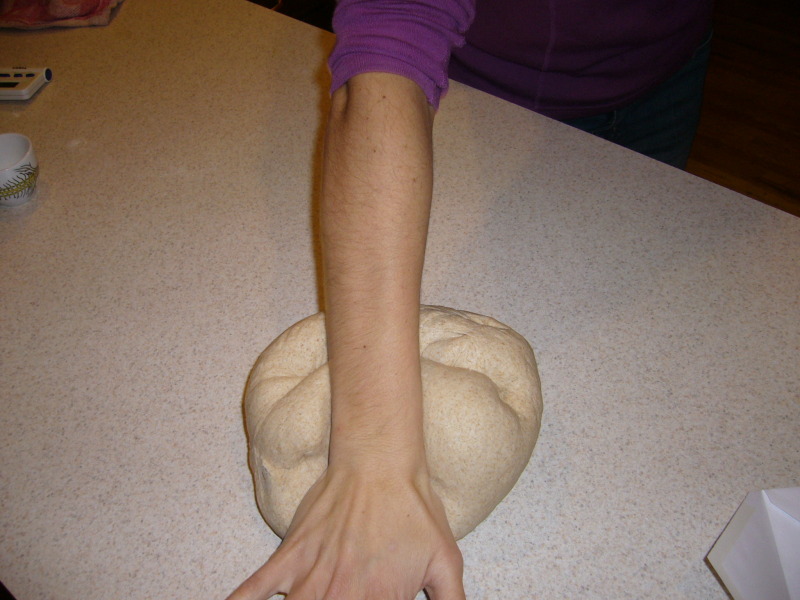
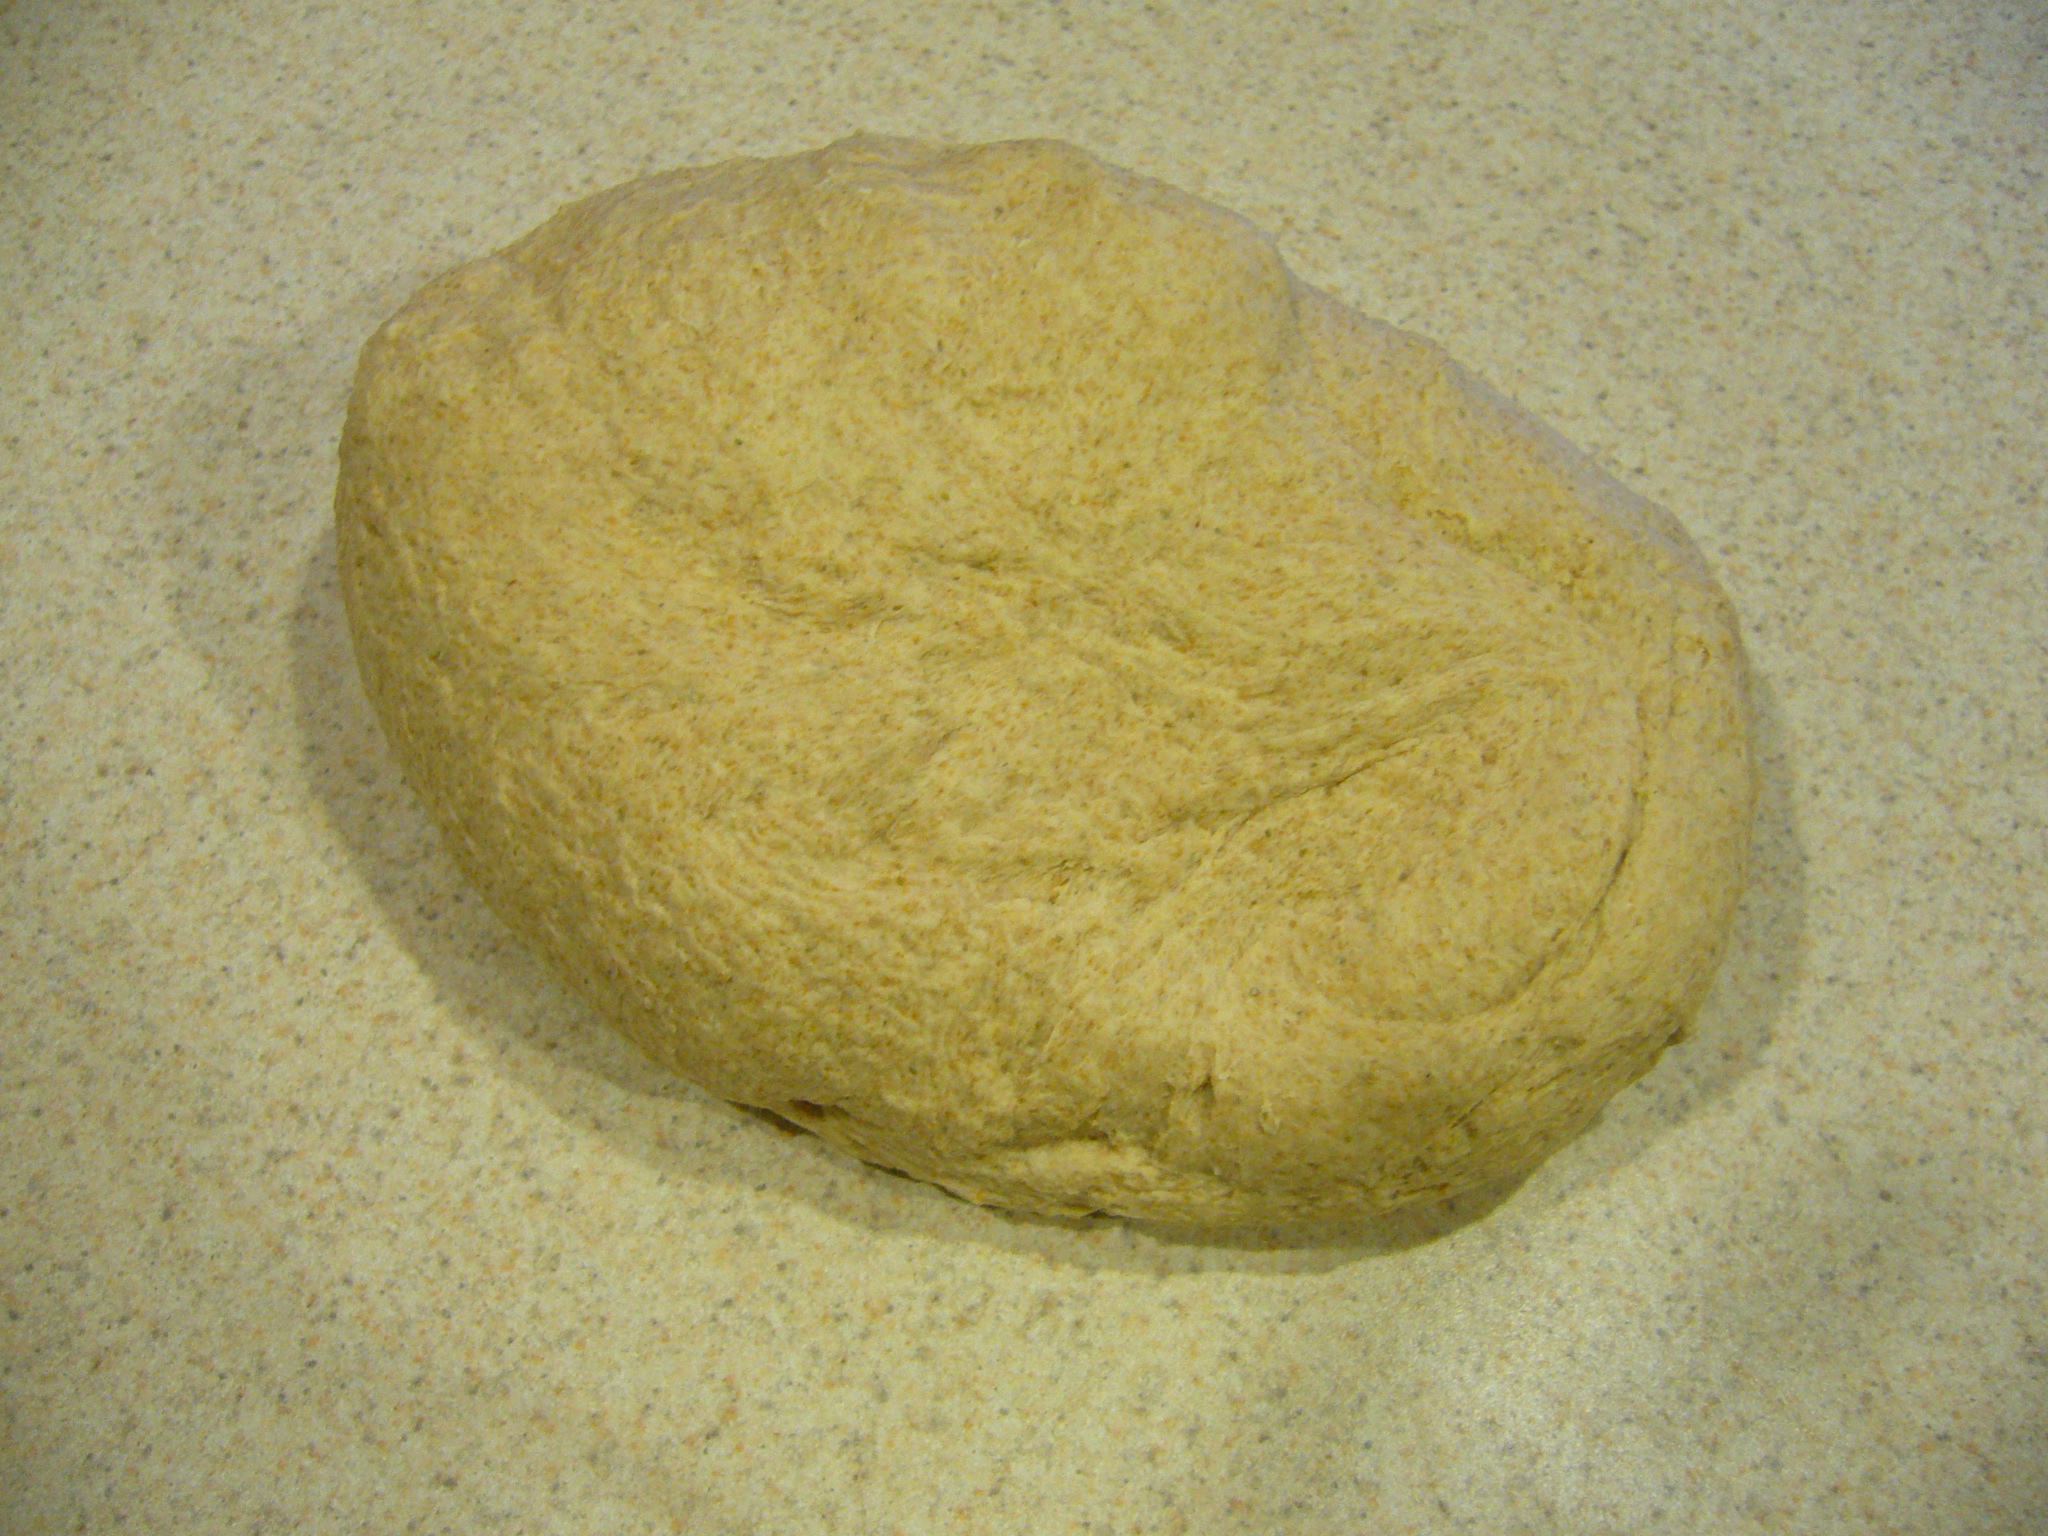
The 20 minute pause -- autolyseThis is critical. Don't skip it. I've read this is about letting the water distribute evenly and be absorbed by the flour. I don't know. But I do know this: if you skip this, the dough is always too slack and never stretchy enough; the bread is not as chewy-interesting. It's also much easier to knead (by hand especially) when the dough has rested. Plus, 20 minutes is just enough time to do a quick clean up of the mess so far and go tend to one minor thing in your life... maybe write a check, or check email, or make a call or something. So, cover the glob of dough with a dry towel and let it rest for 20 minutes. The Knead
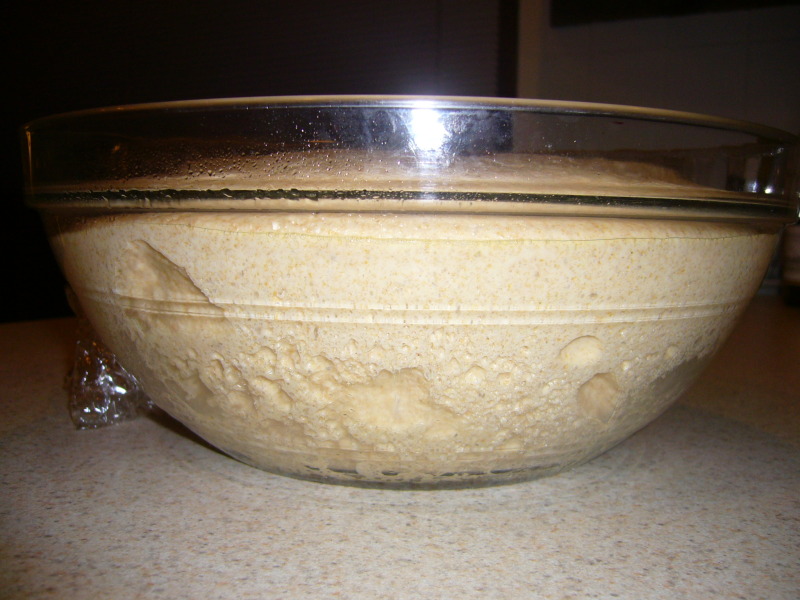
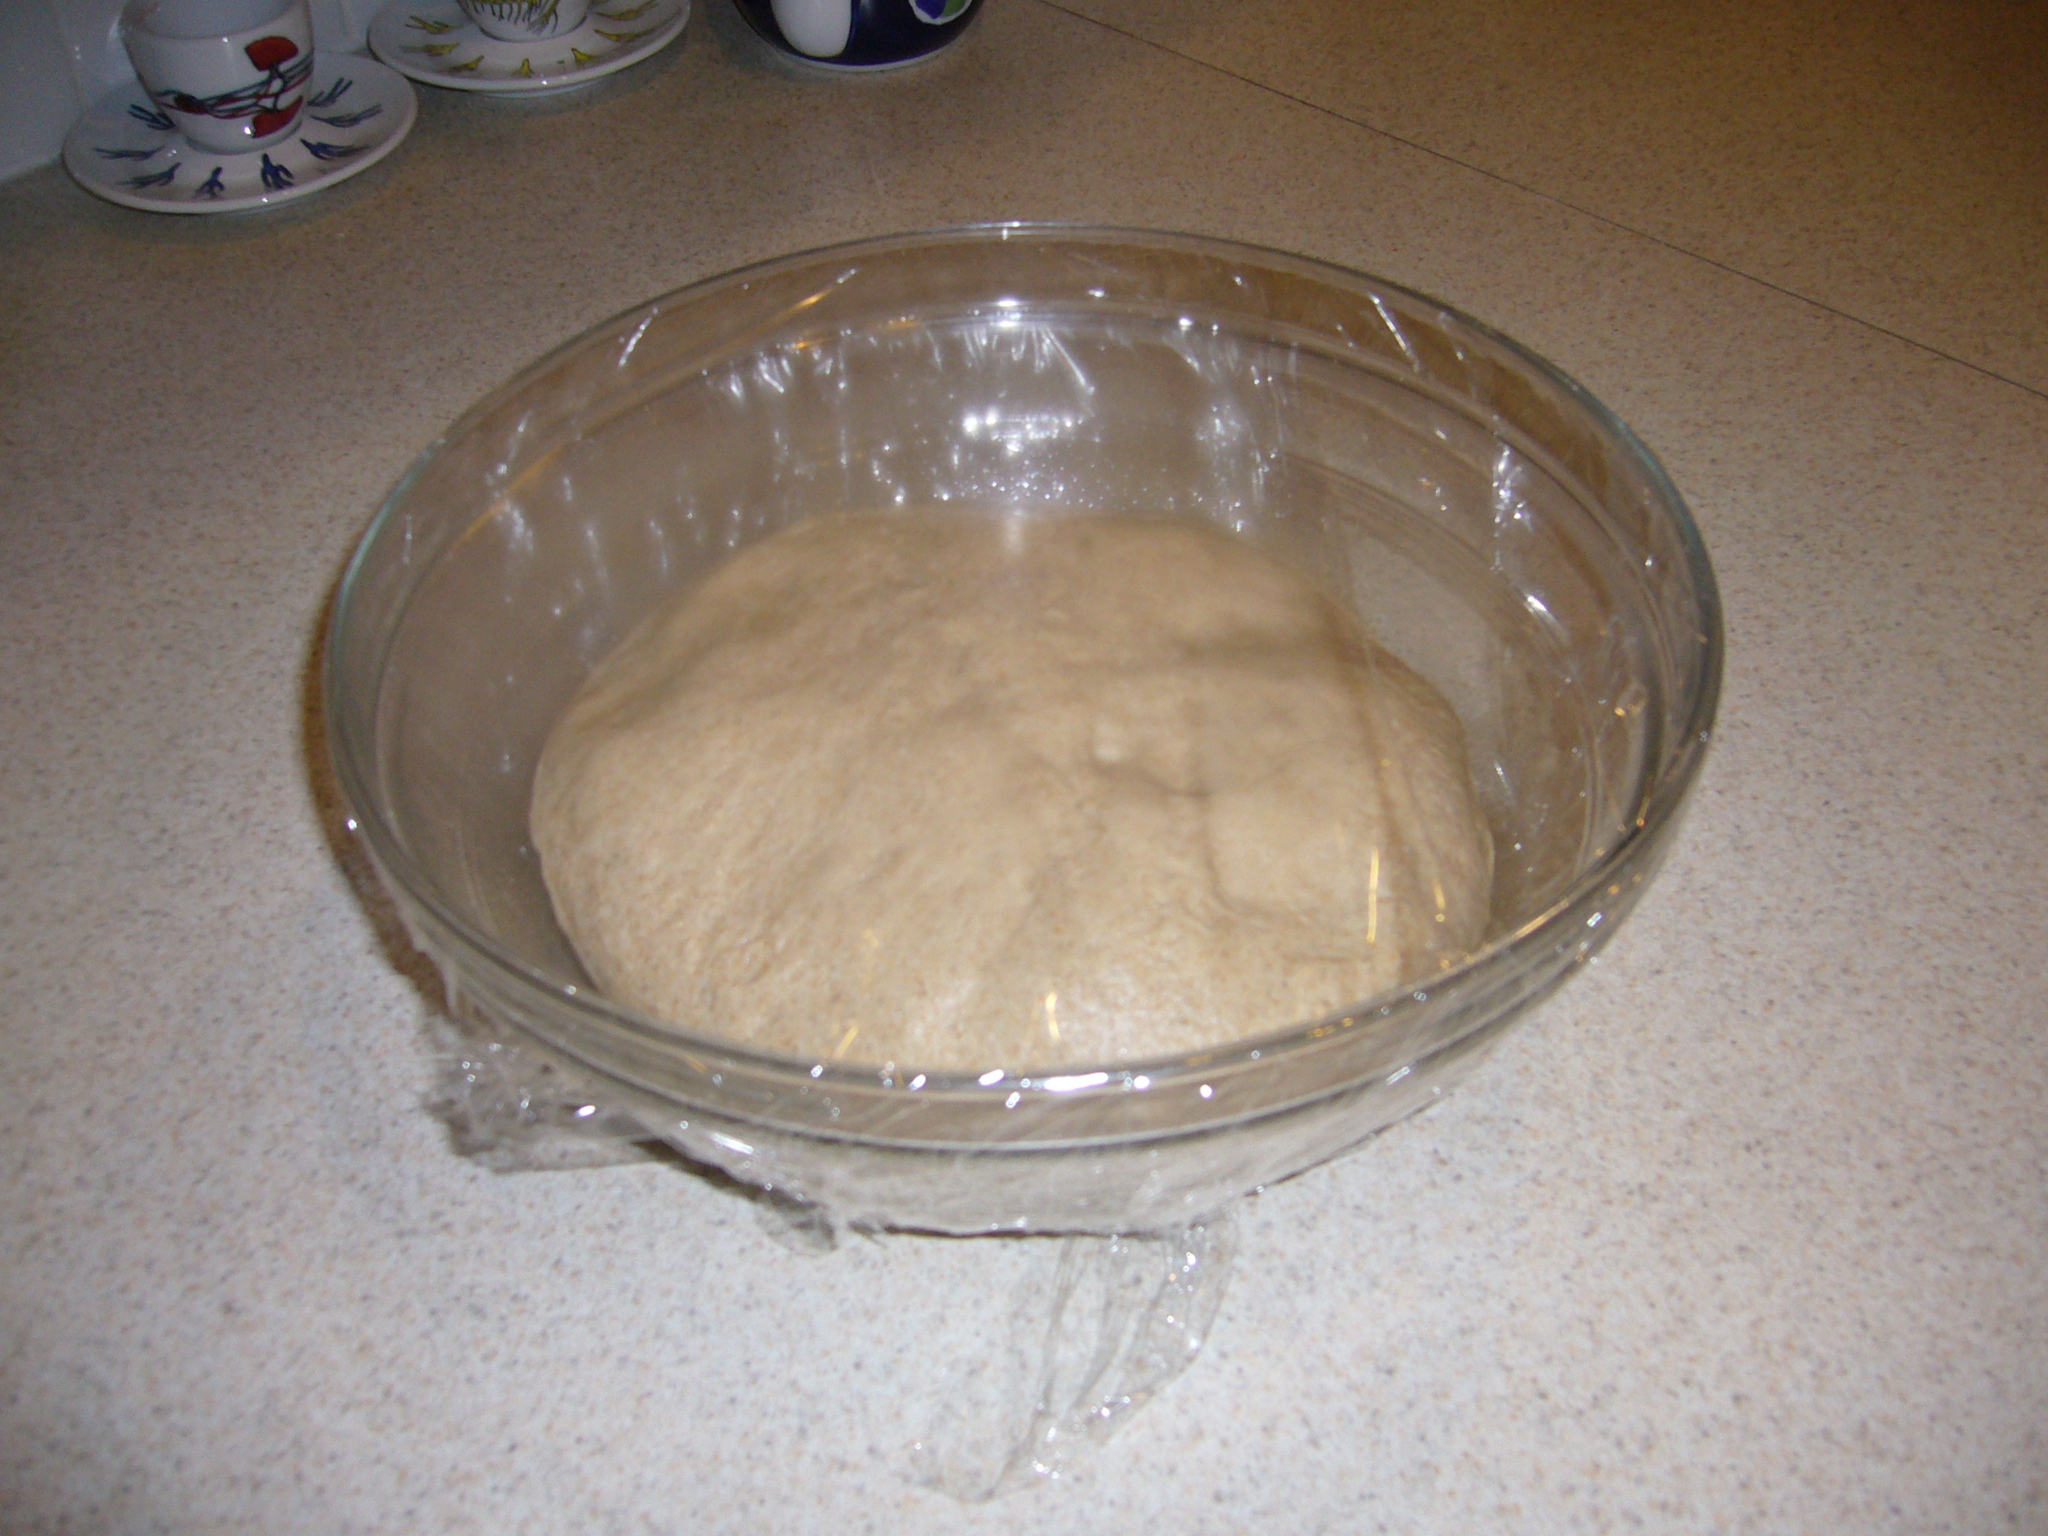
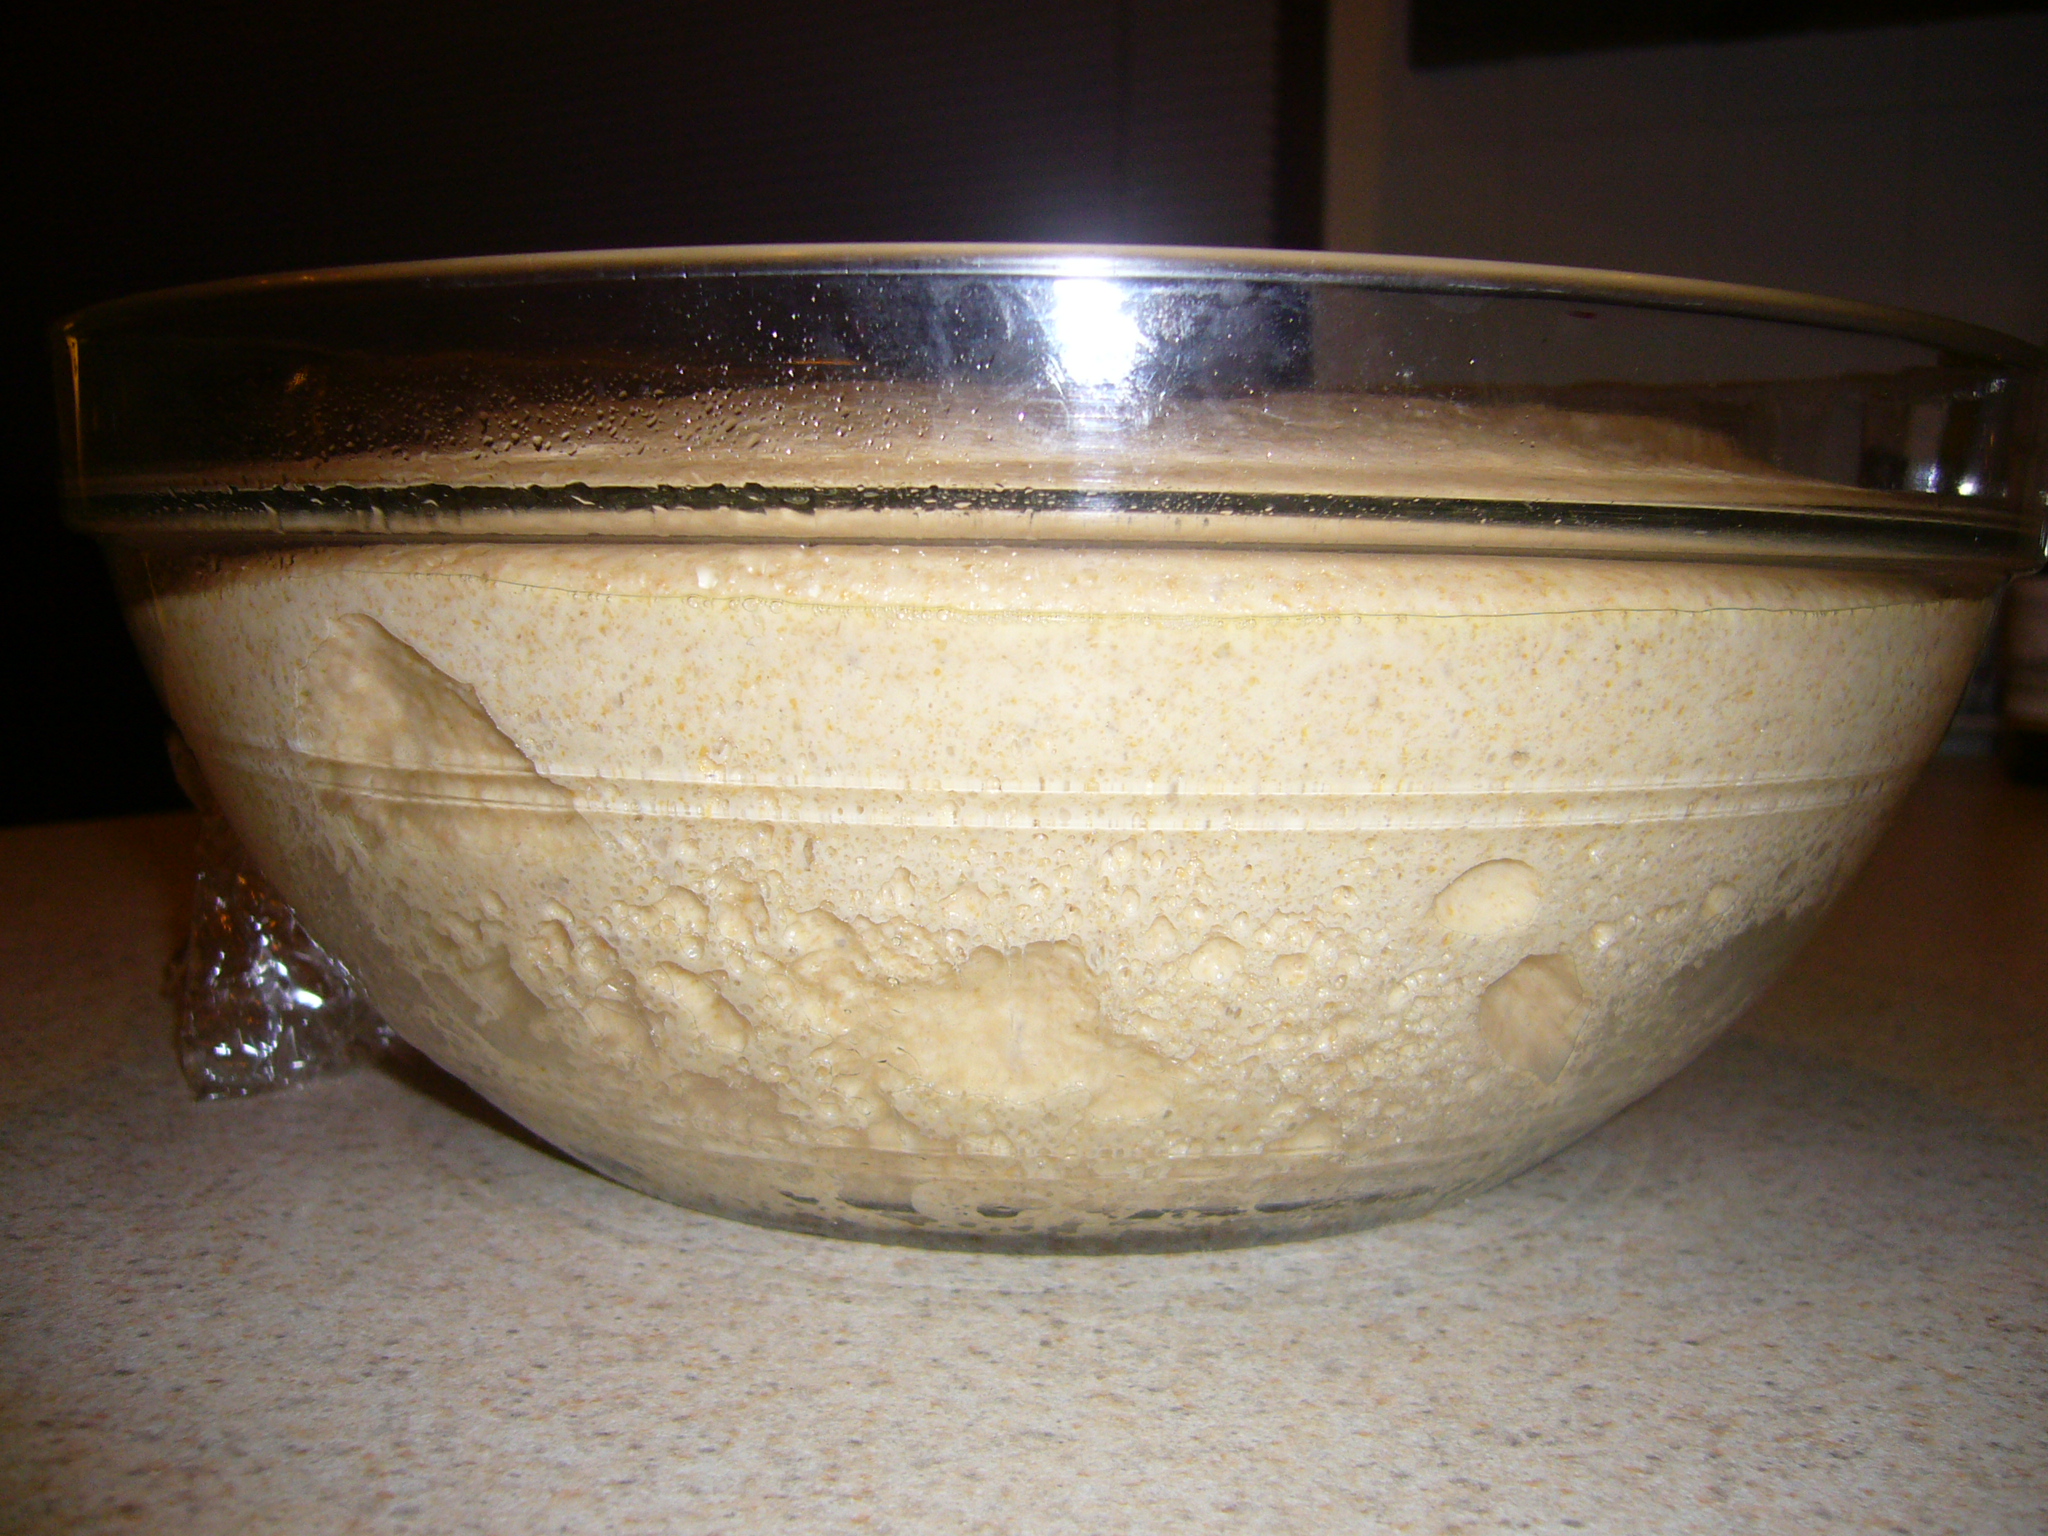
We're down to about 6 minutes of kneading by hand. We started at 20 minutes. There's a lot of ink about how to knead until the dough passes the "window-pane" test or how at 70-something degrees it's just right, but at 70-something +1, it's dead. And just recently, some guy at the NYT wrote an article about how you don't need to knead at all! We found 6 minutes was the as little as we can get away with and I usually go for about 8 just for good measure. The FermentThis is where a lot of flavor happens. The idea here is to double the volume of the dough. You can do this on the counter, over the course of 8 hours or so, or you can throw it in the fridge and see what it looks like in 20 hours. Either way, give it the time it needs to grow. Don't rush it. Don't set it on the oven or in a warm spot. Just let it do its thing. If you miss the boat and it's doubled + some. Then punch it down, give it a quick knead and double it again. Double it. Got it? The Proof
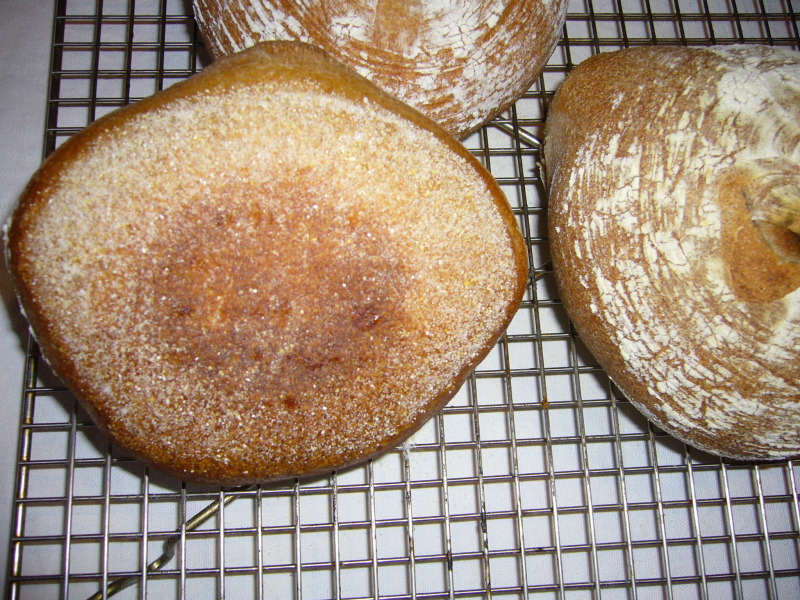
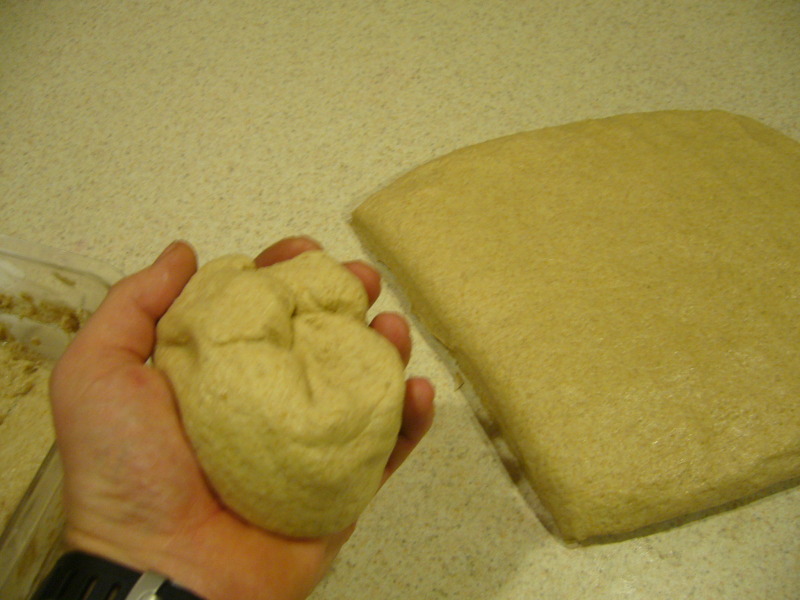
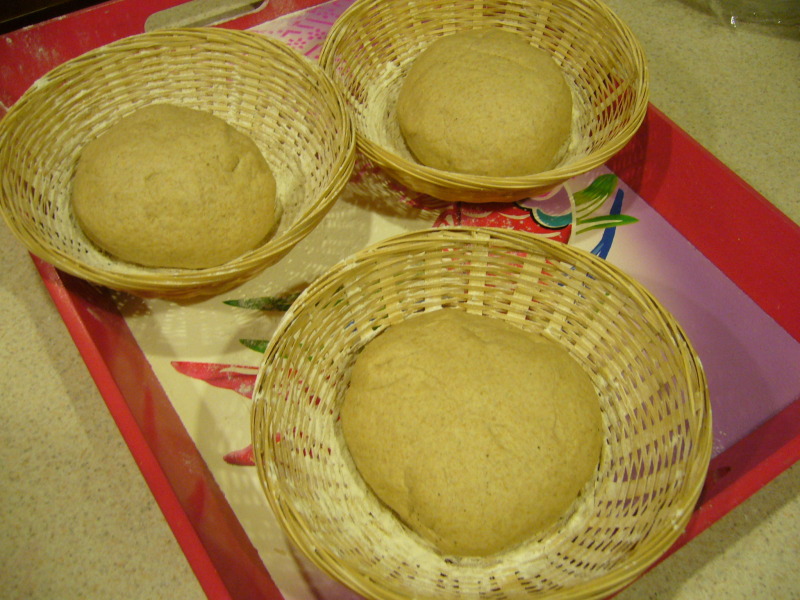
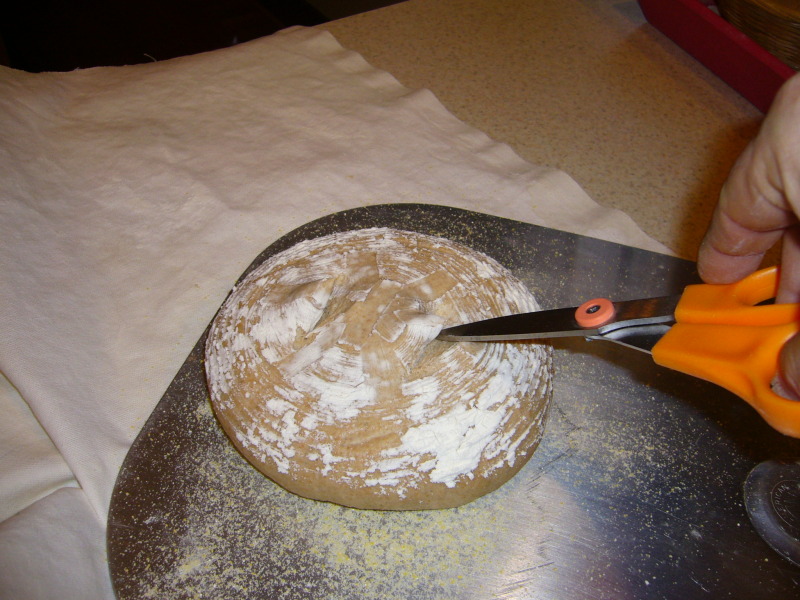
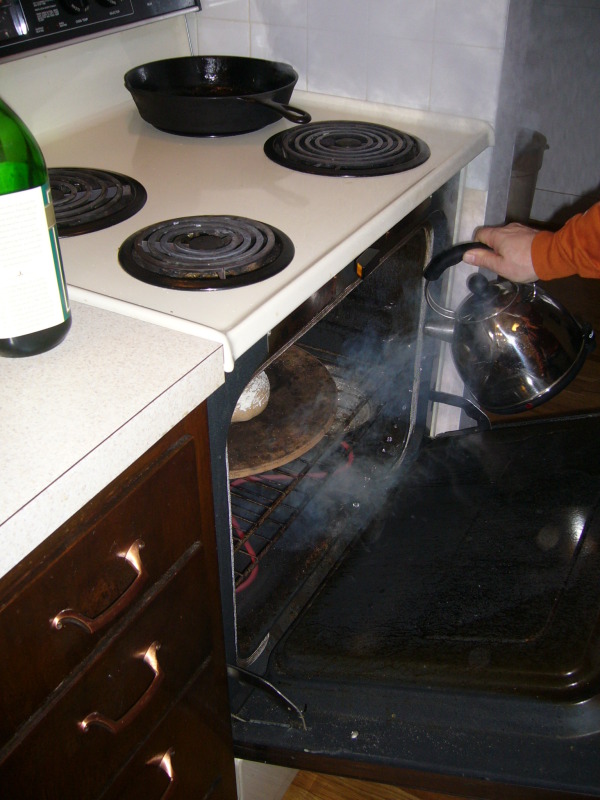
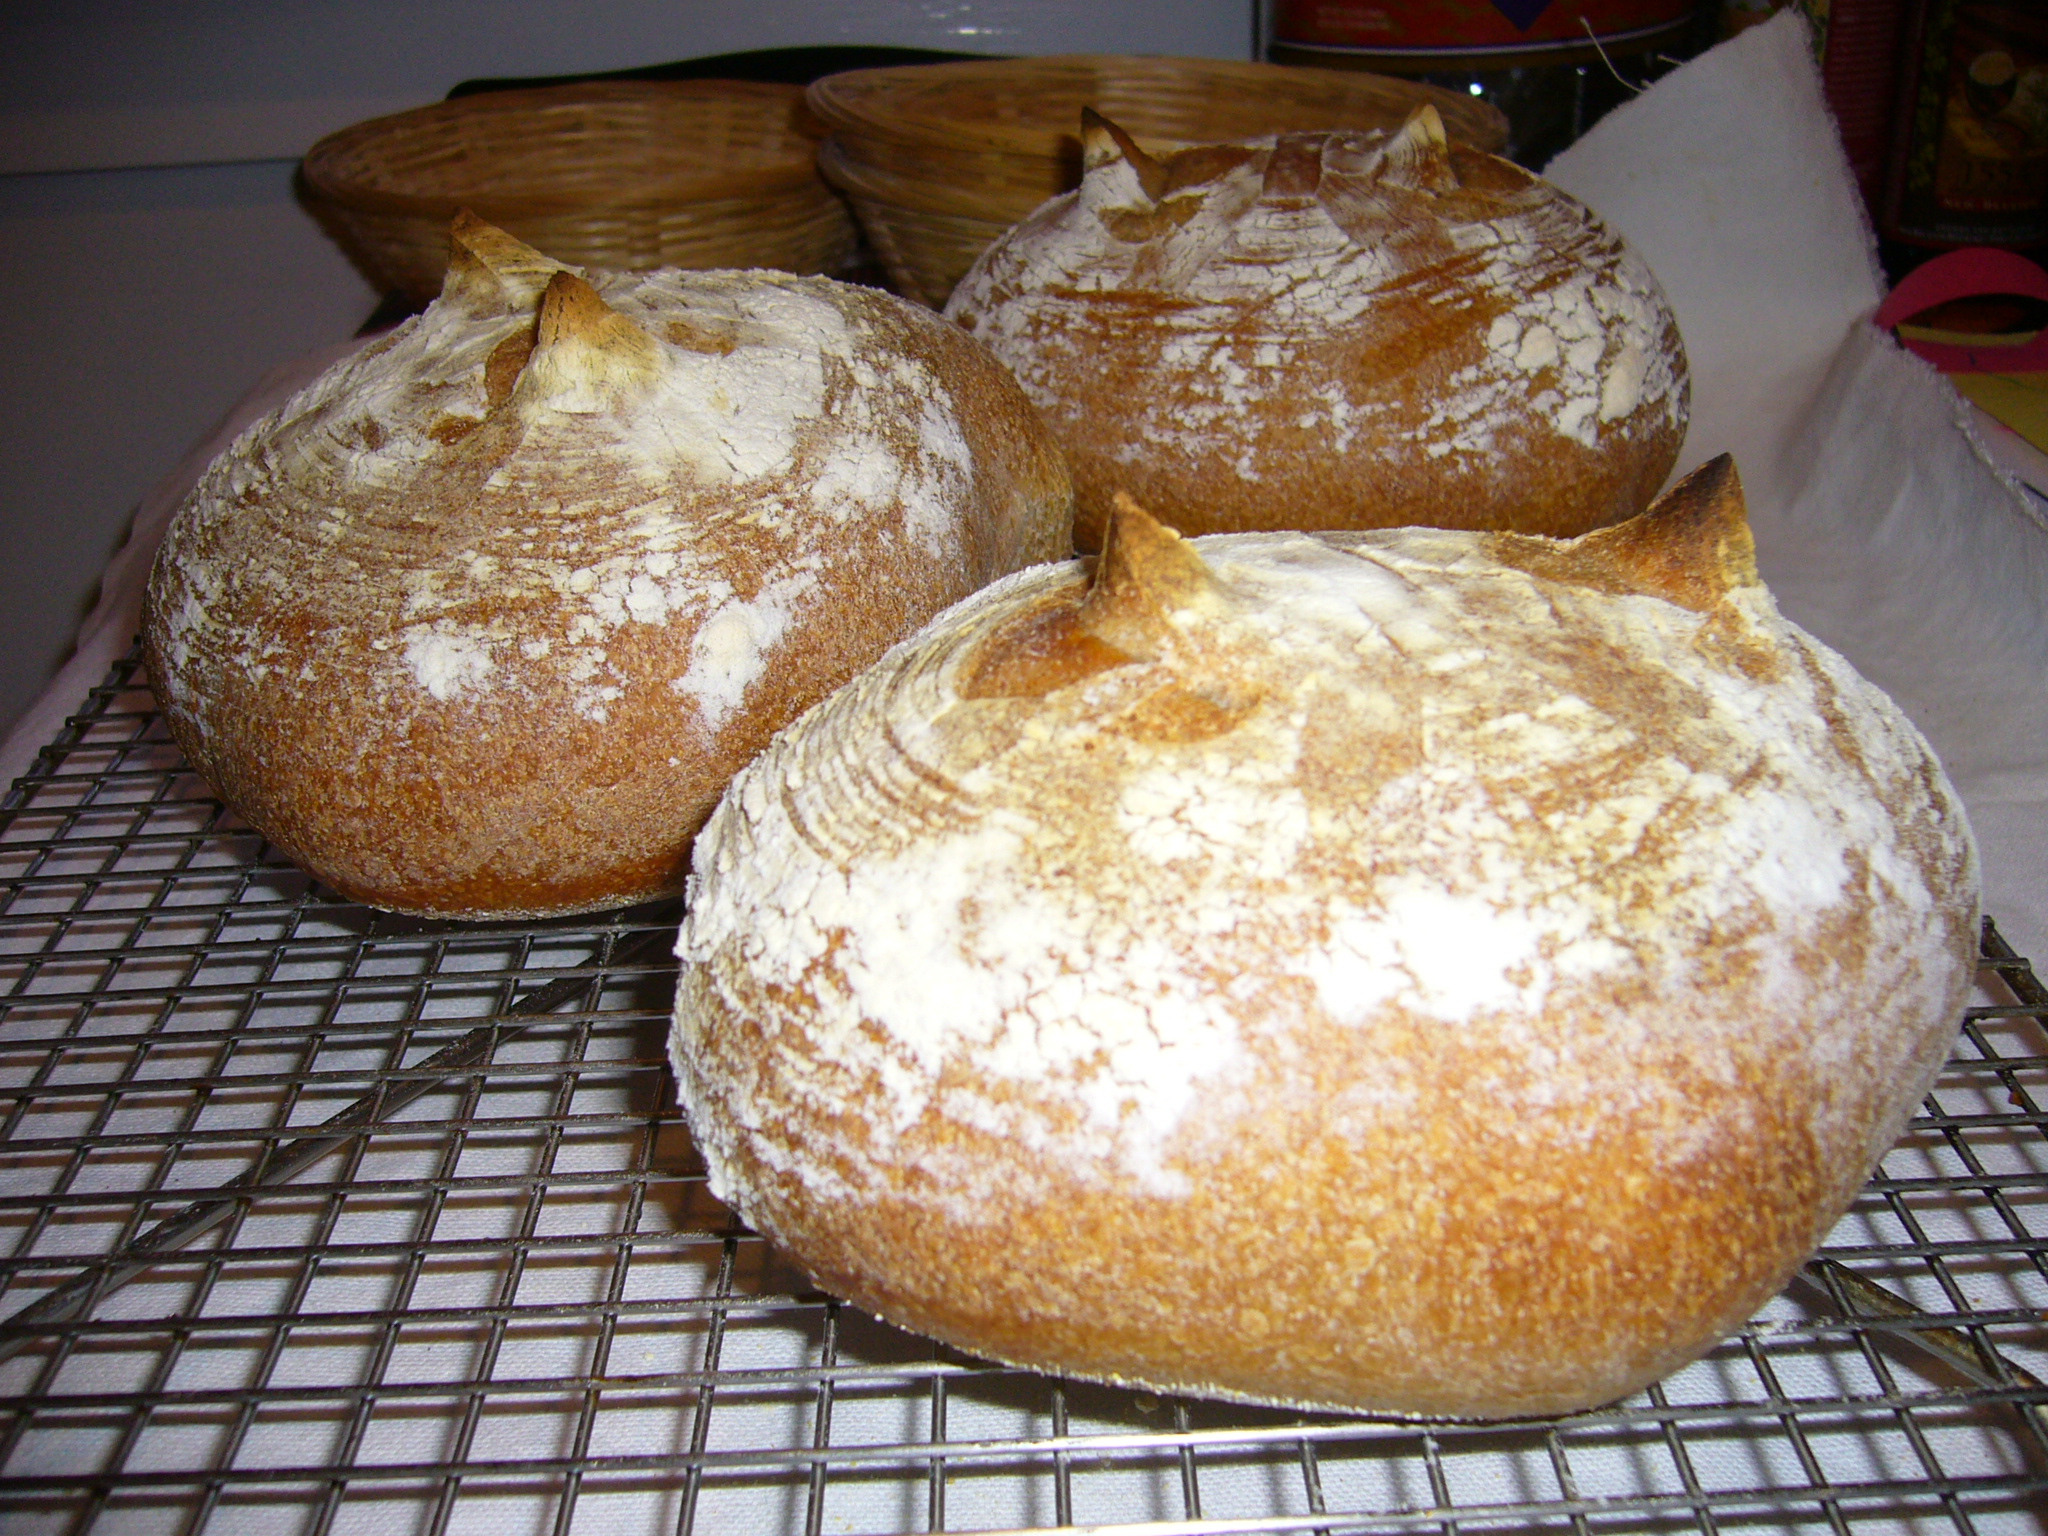
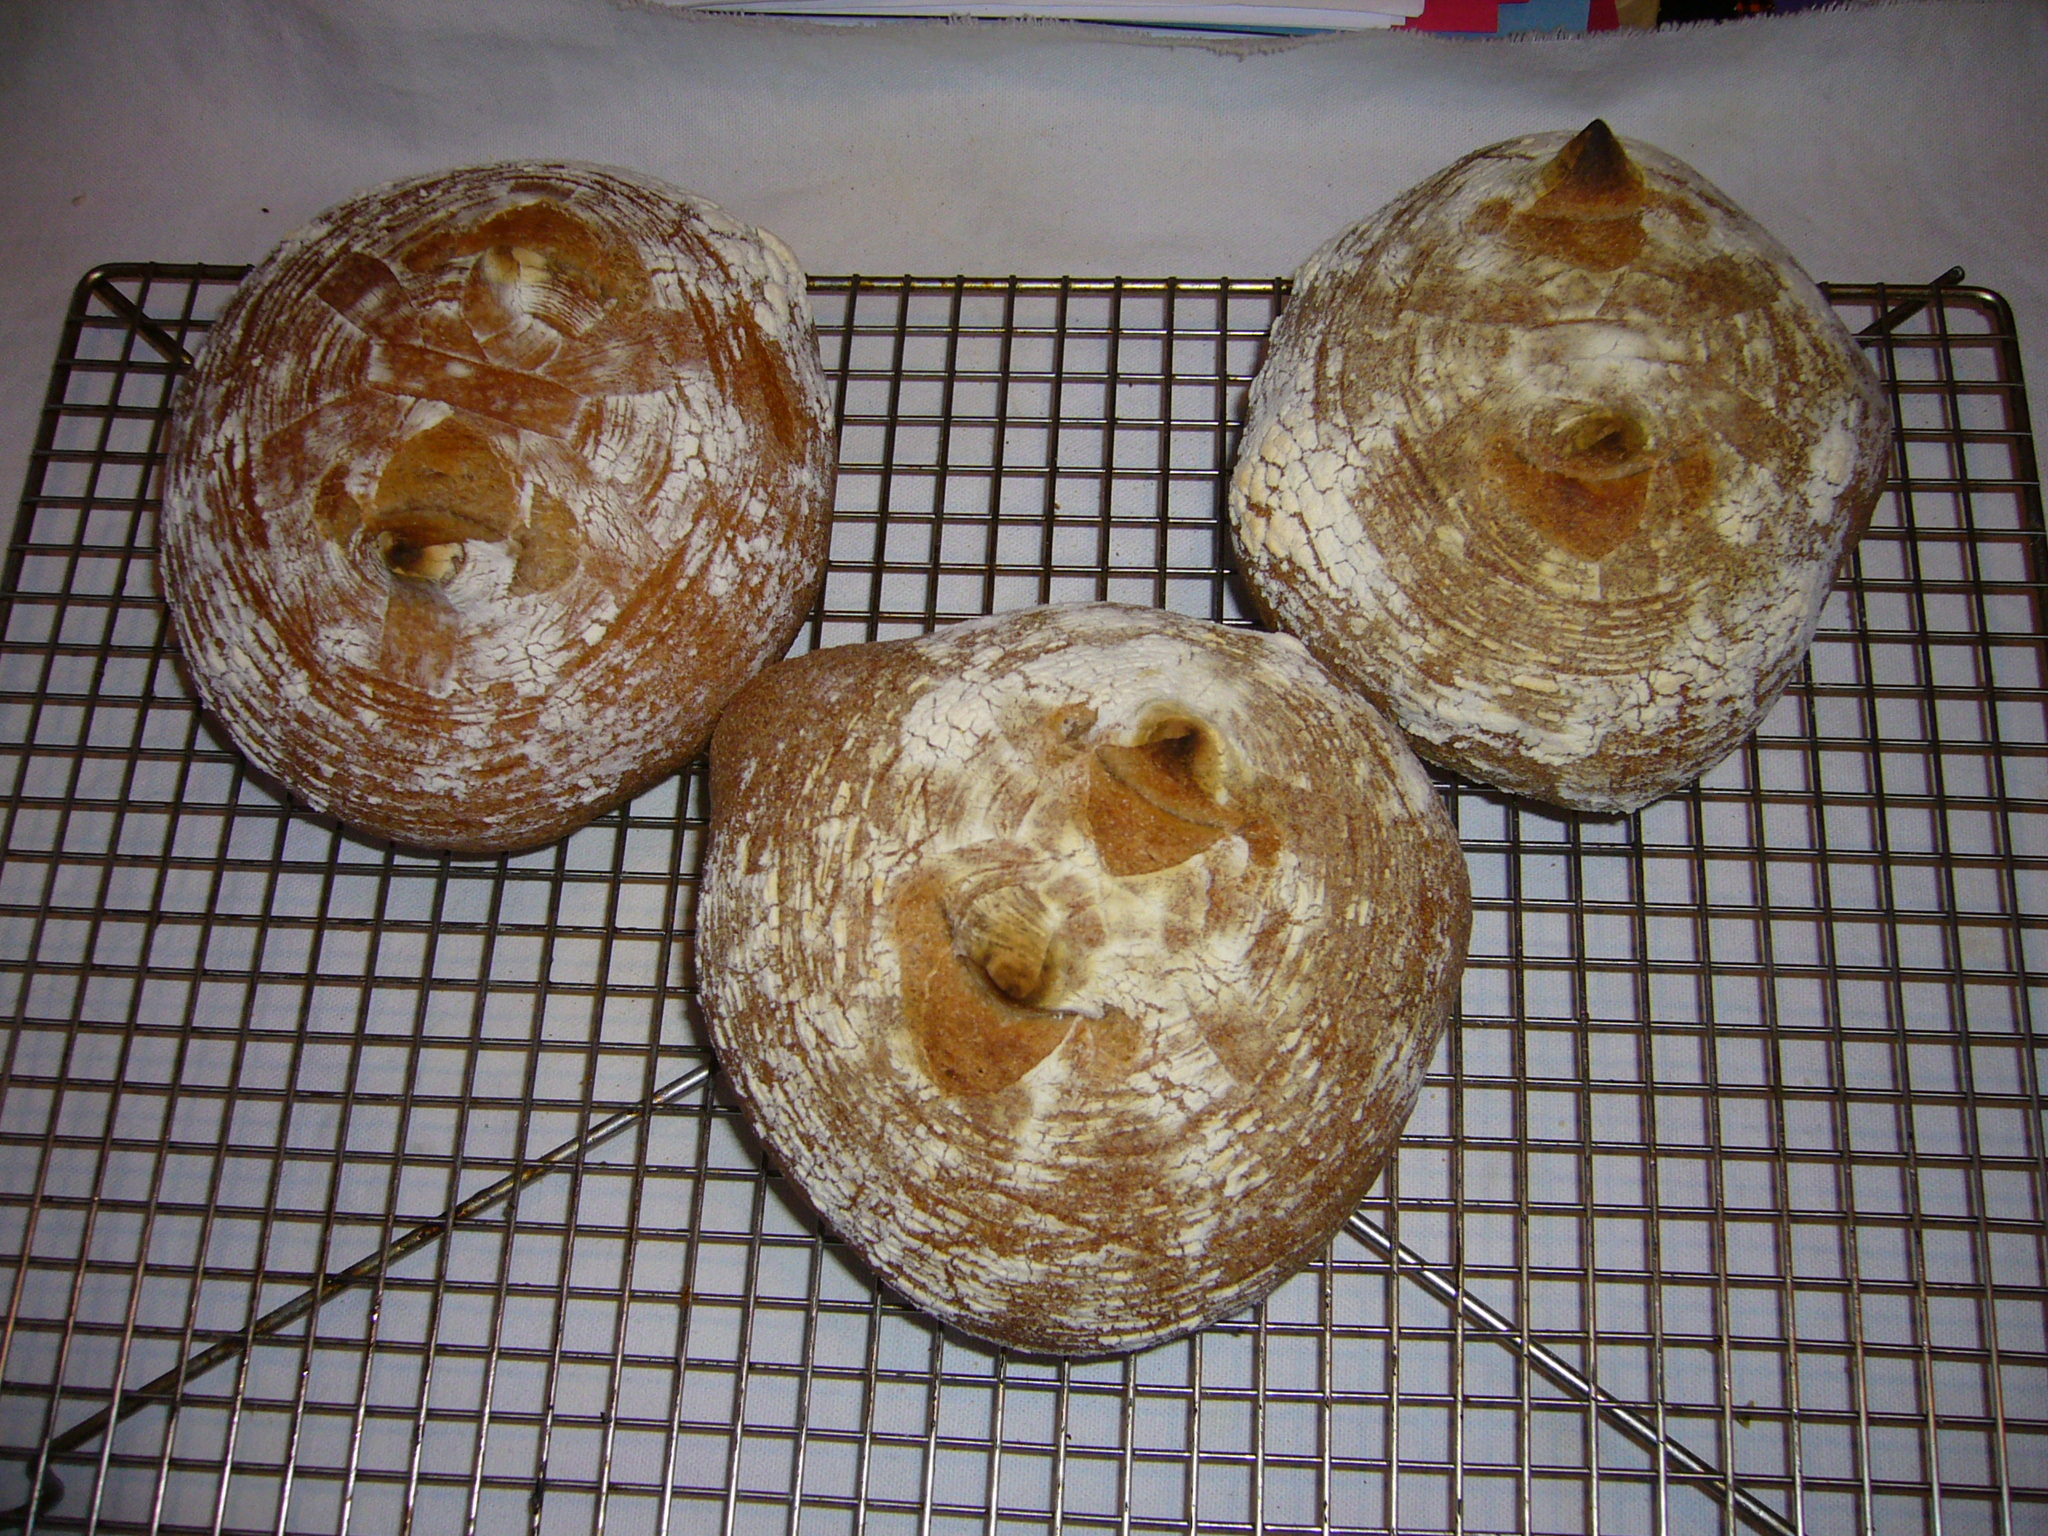
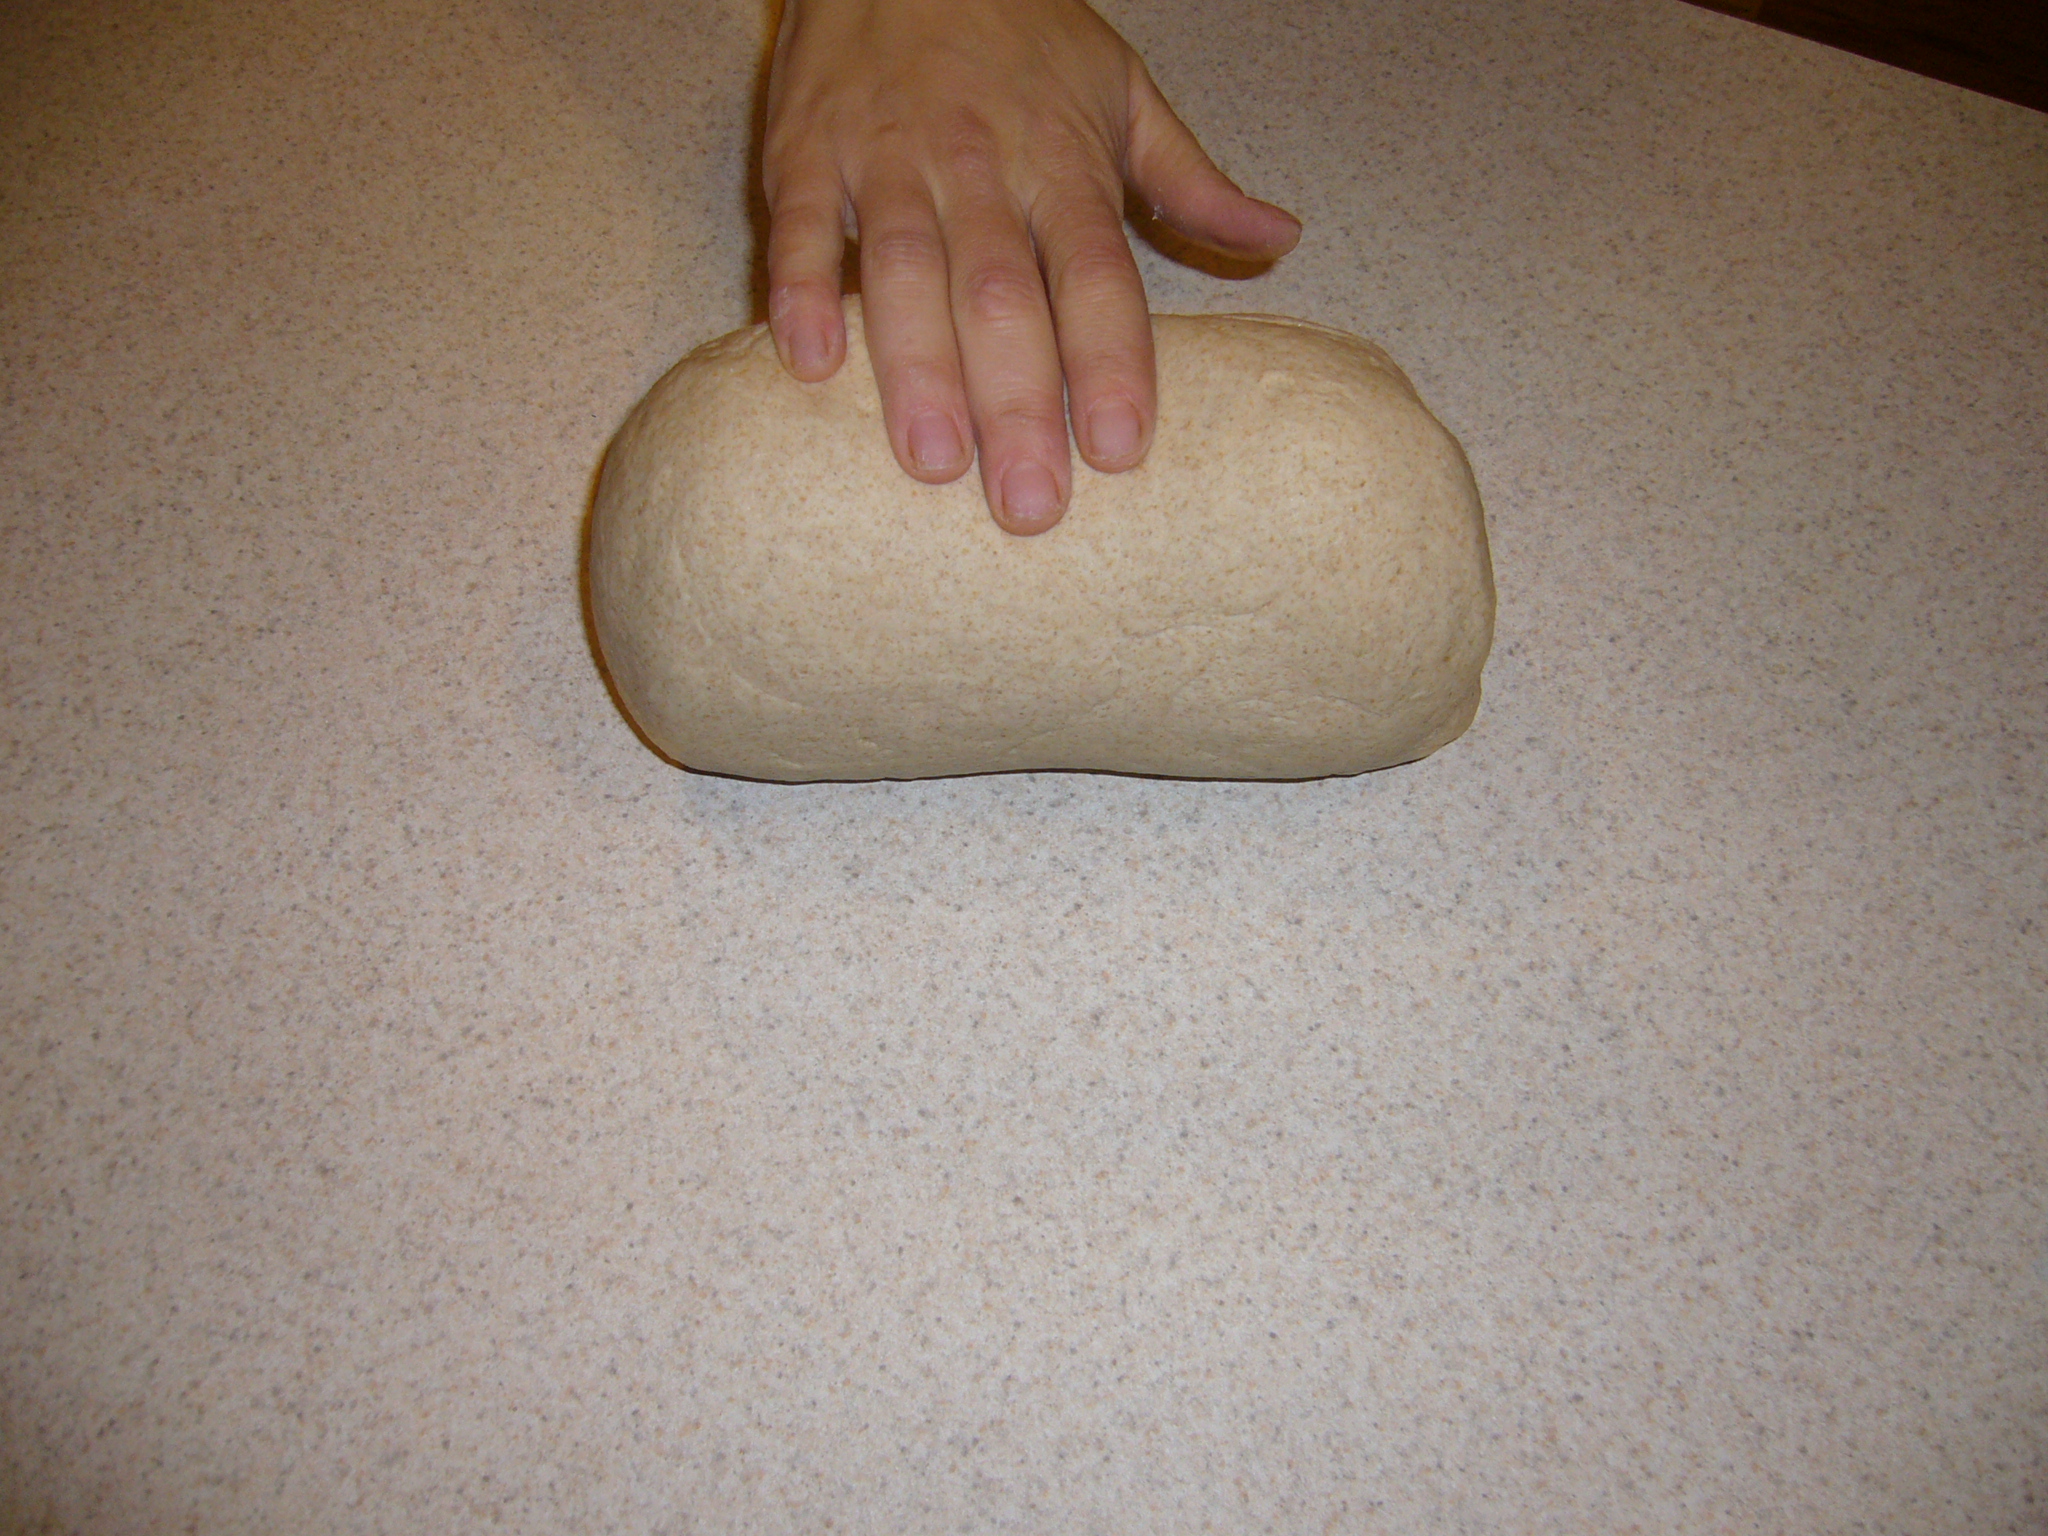
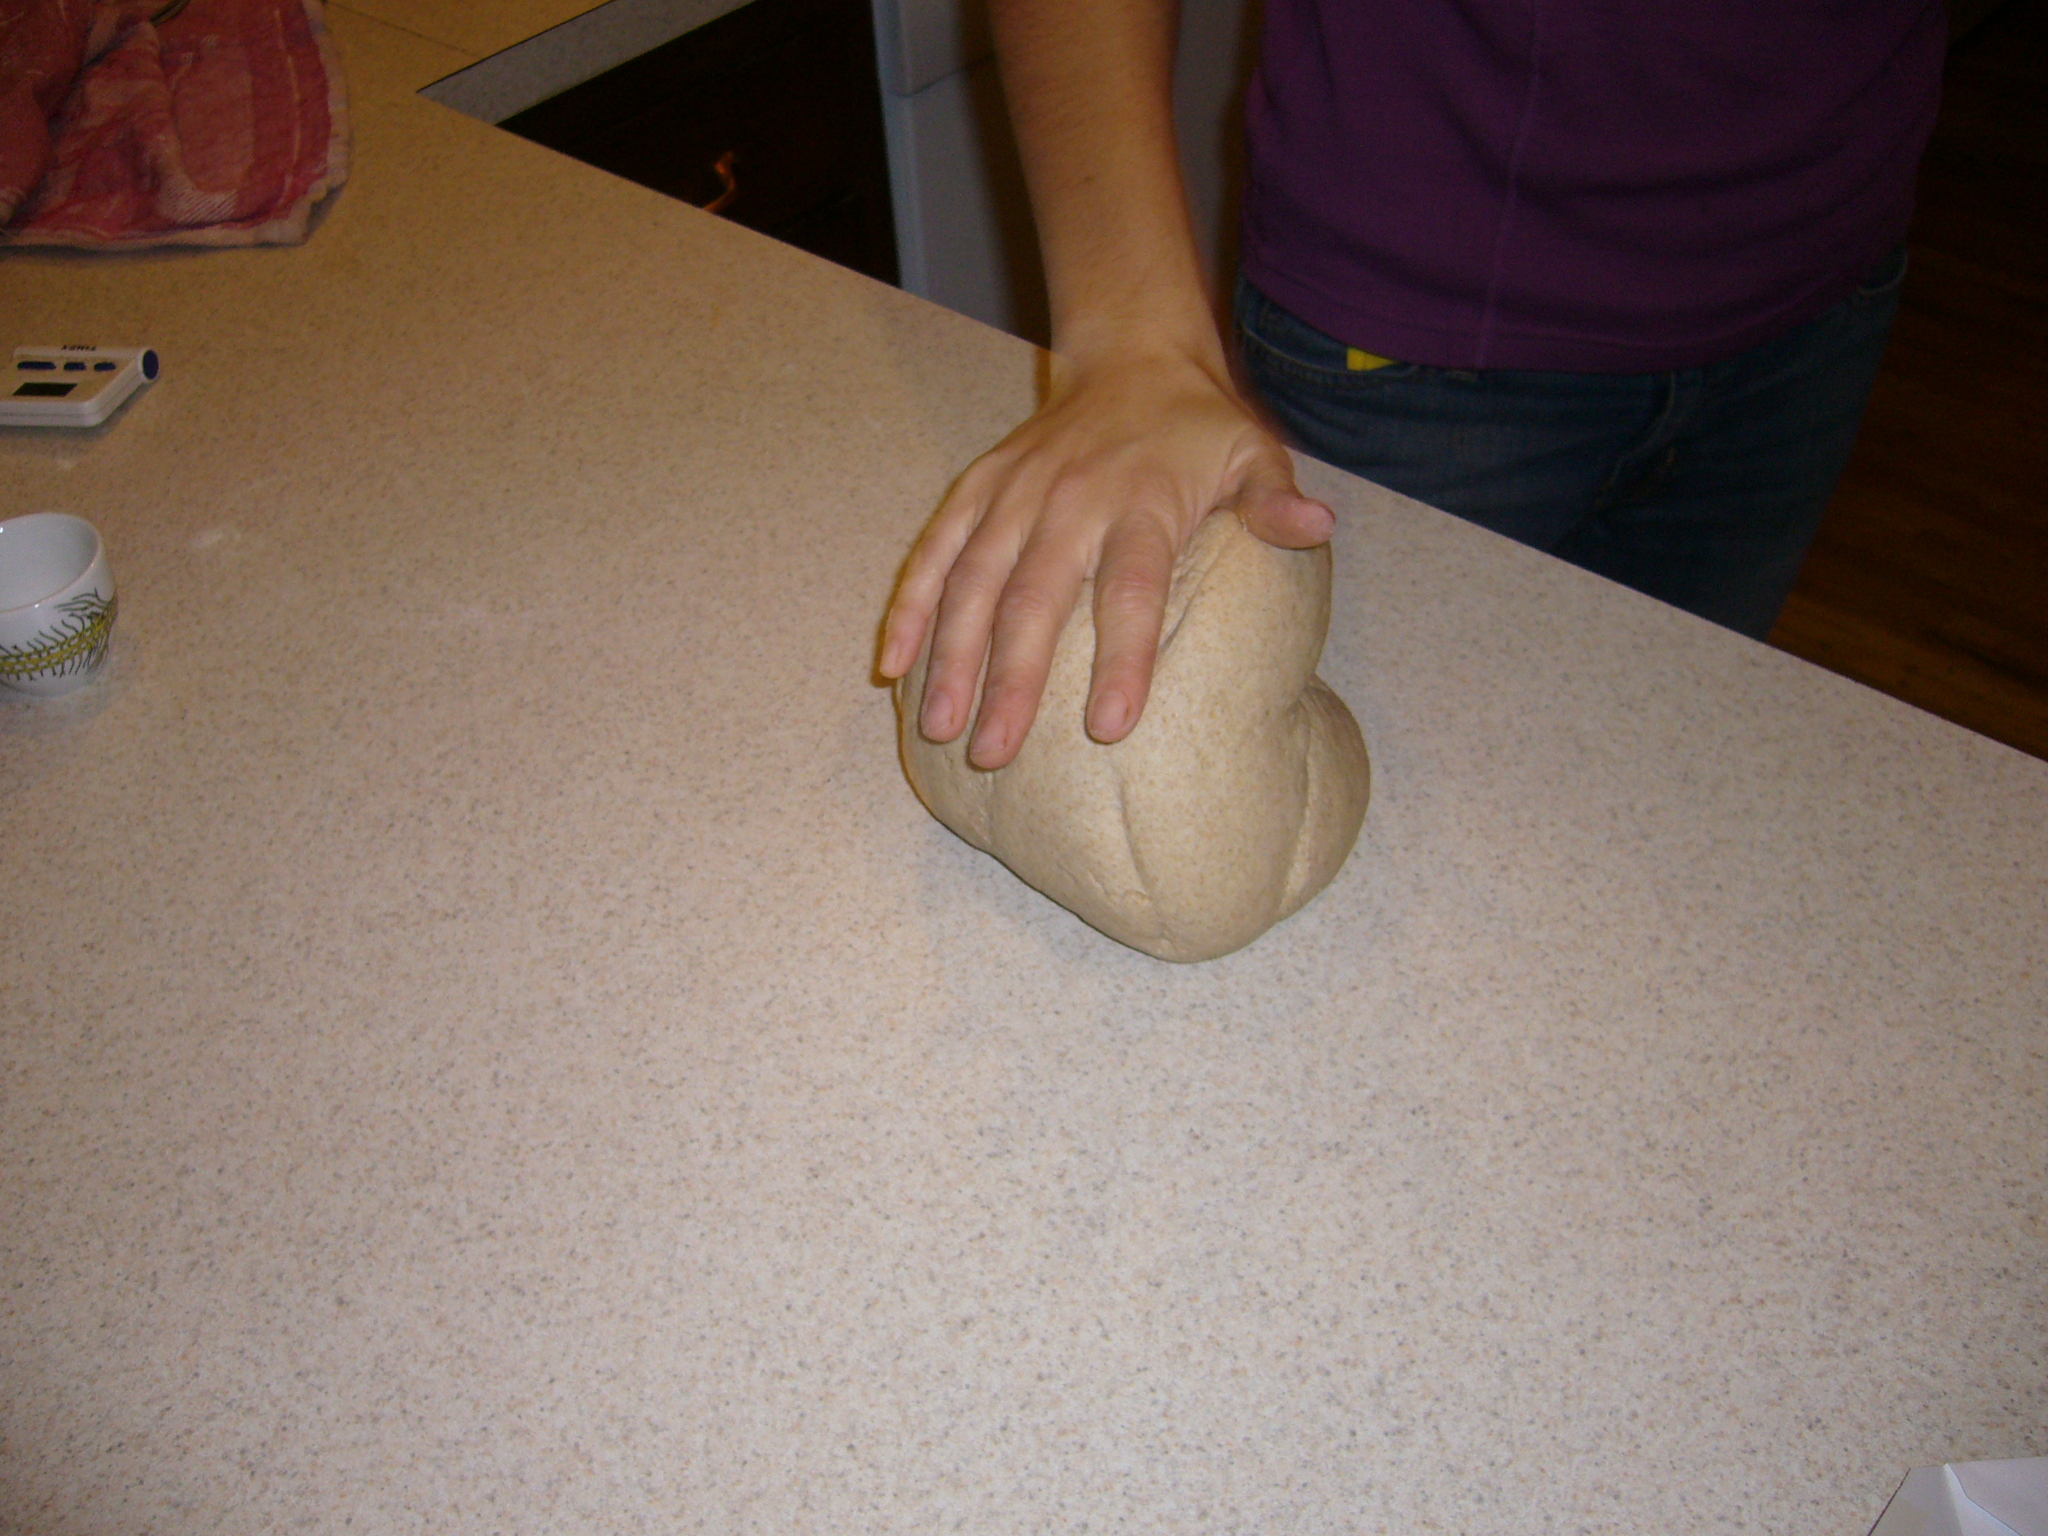
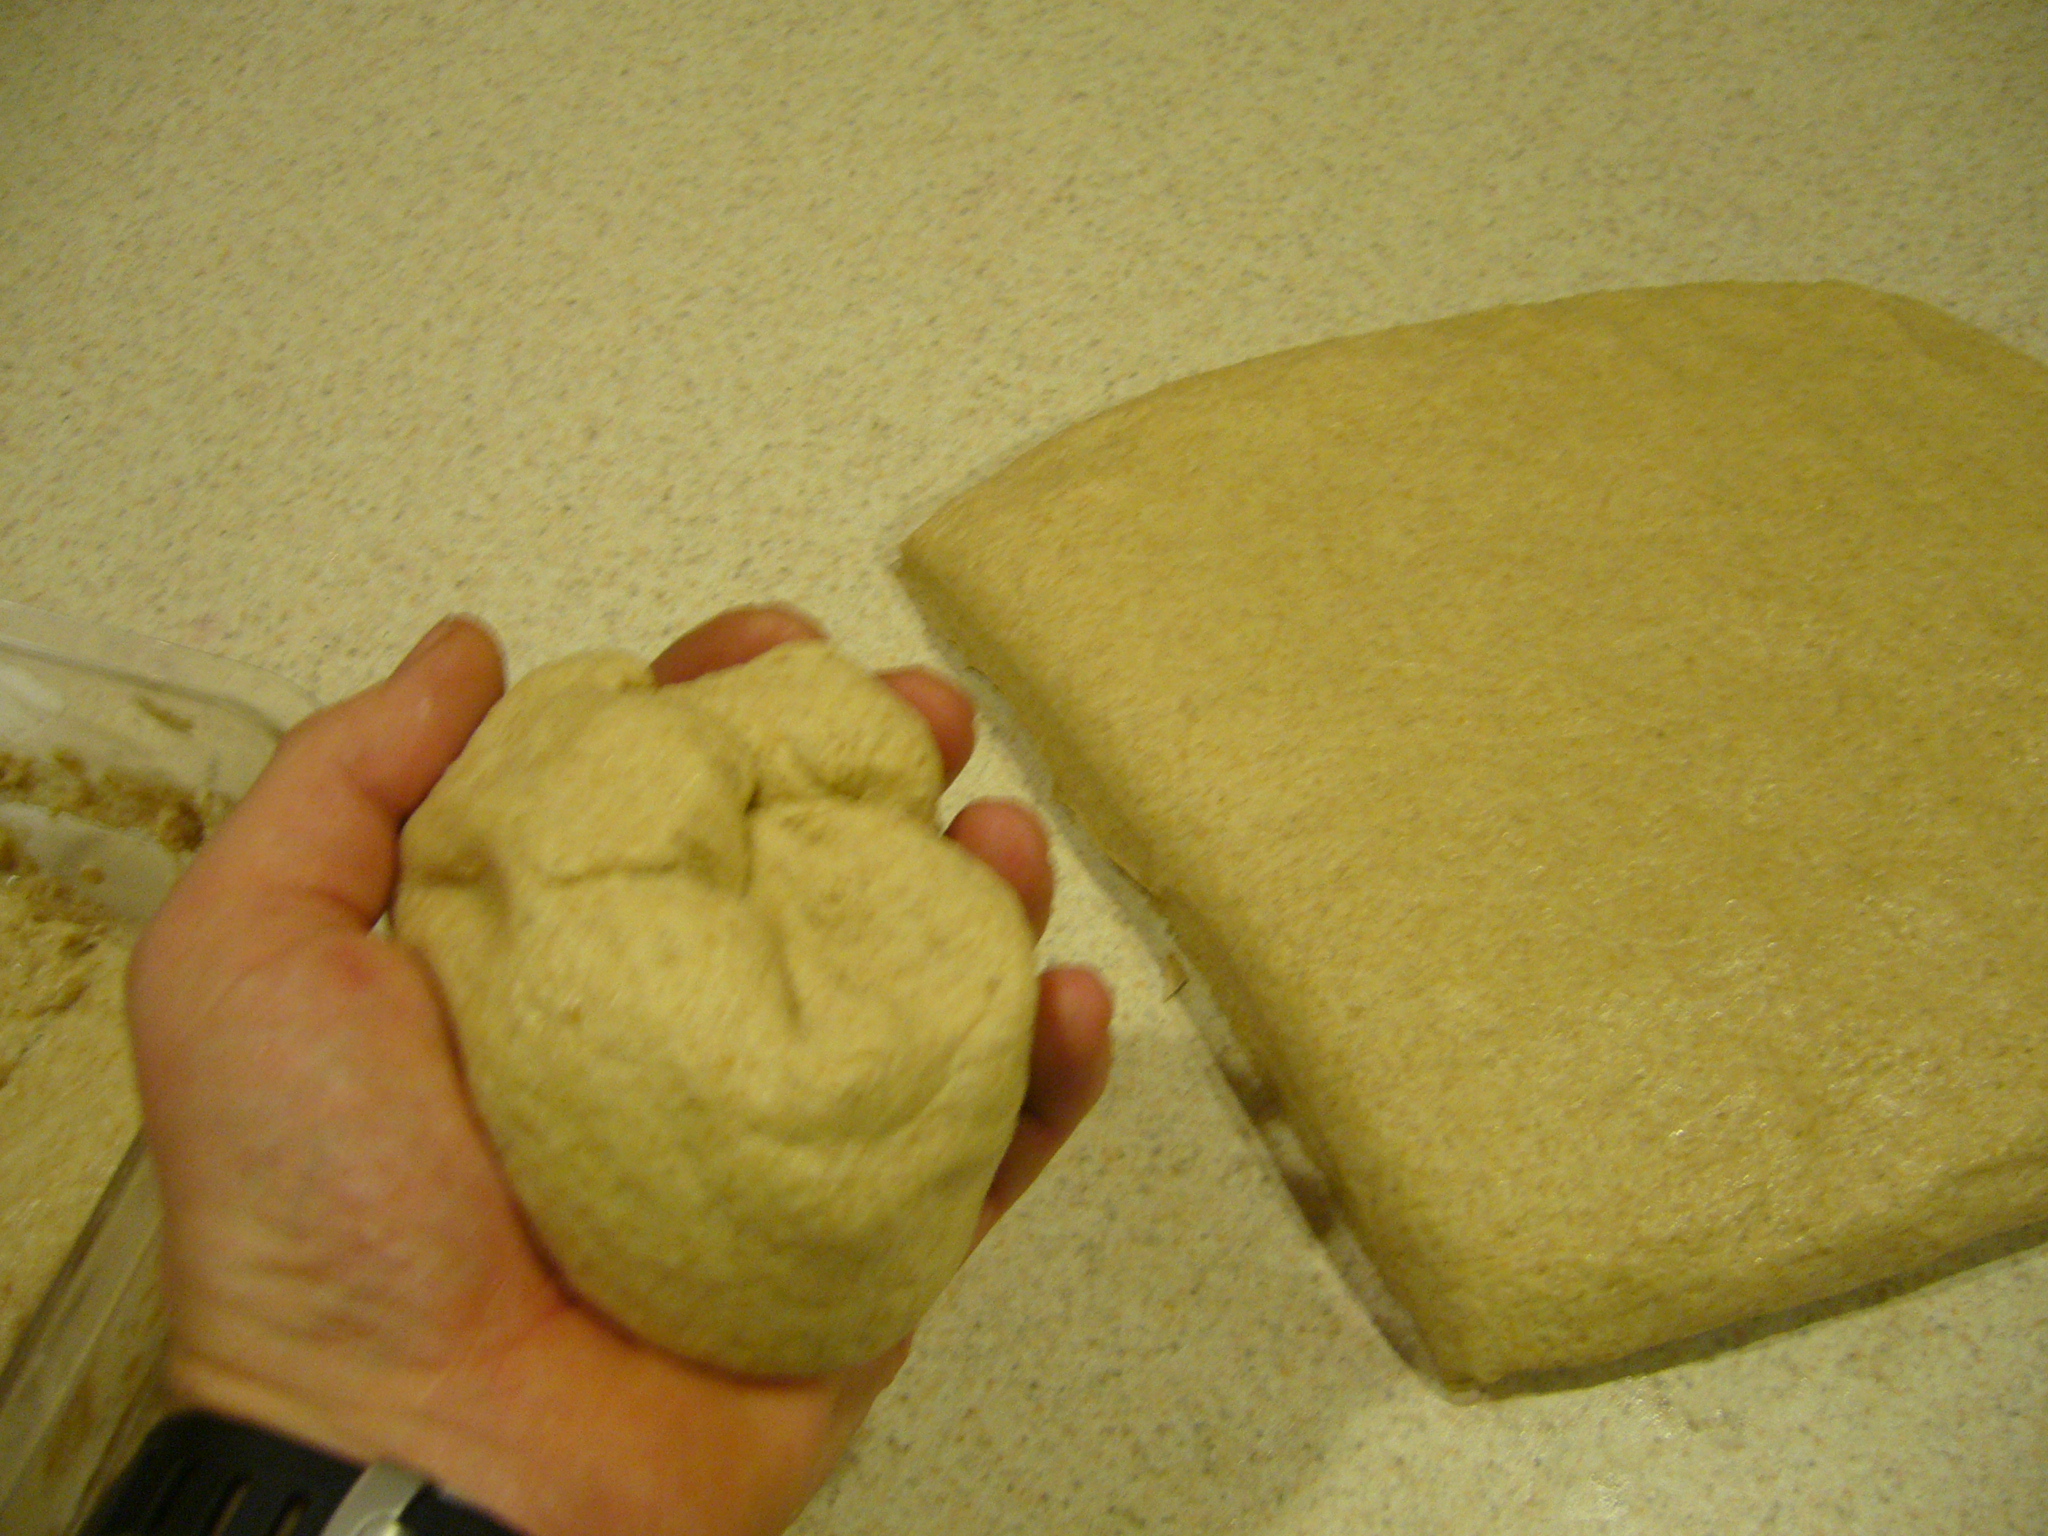
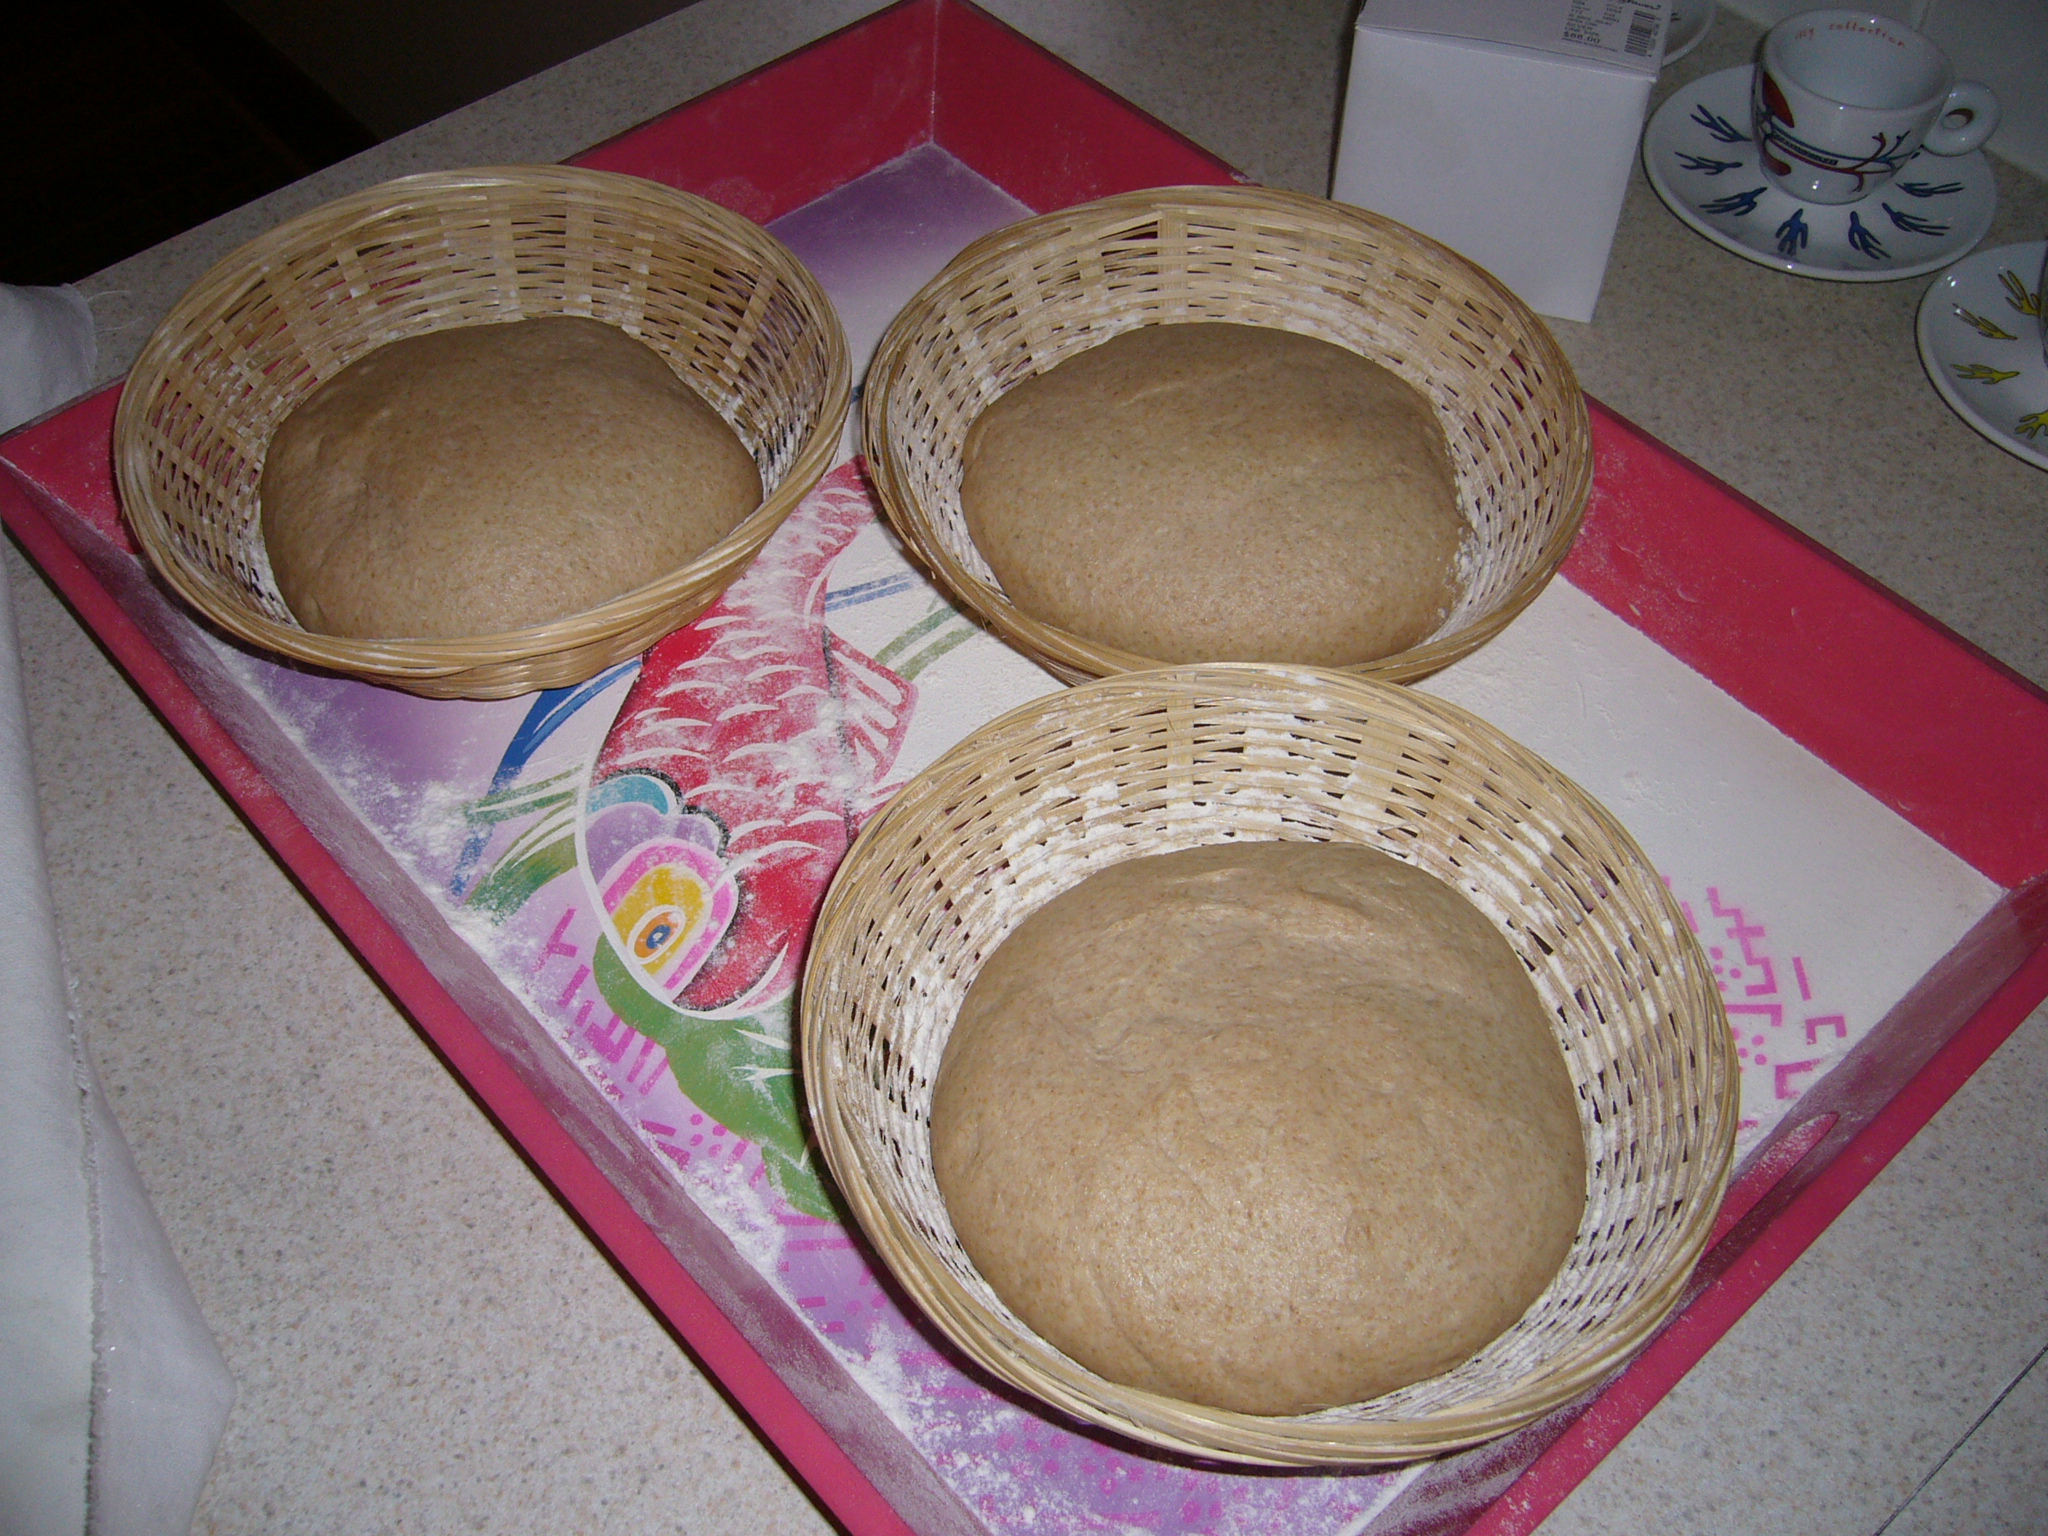
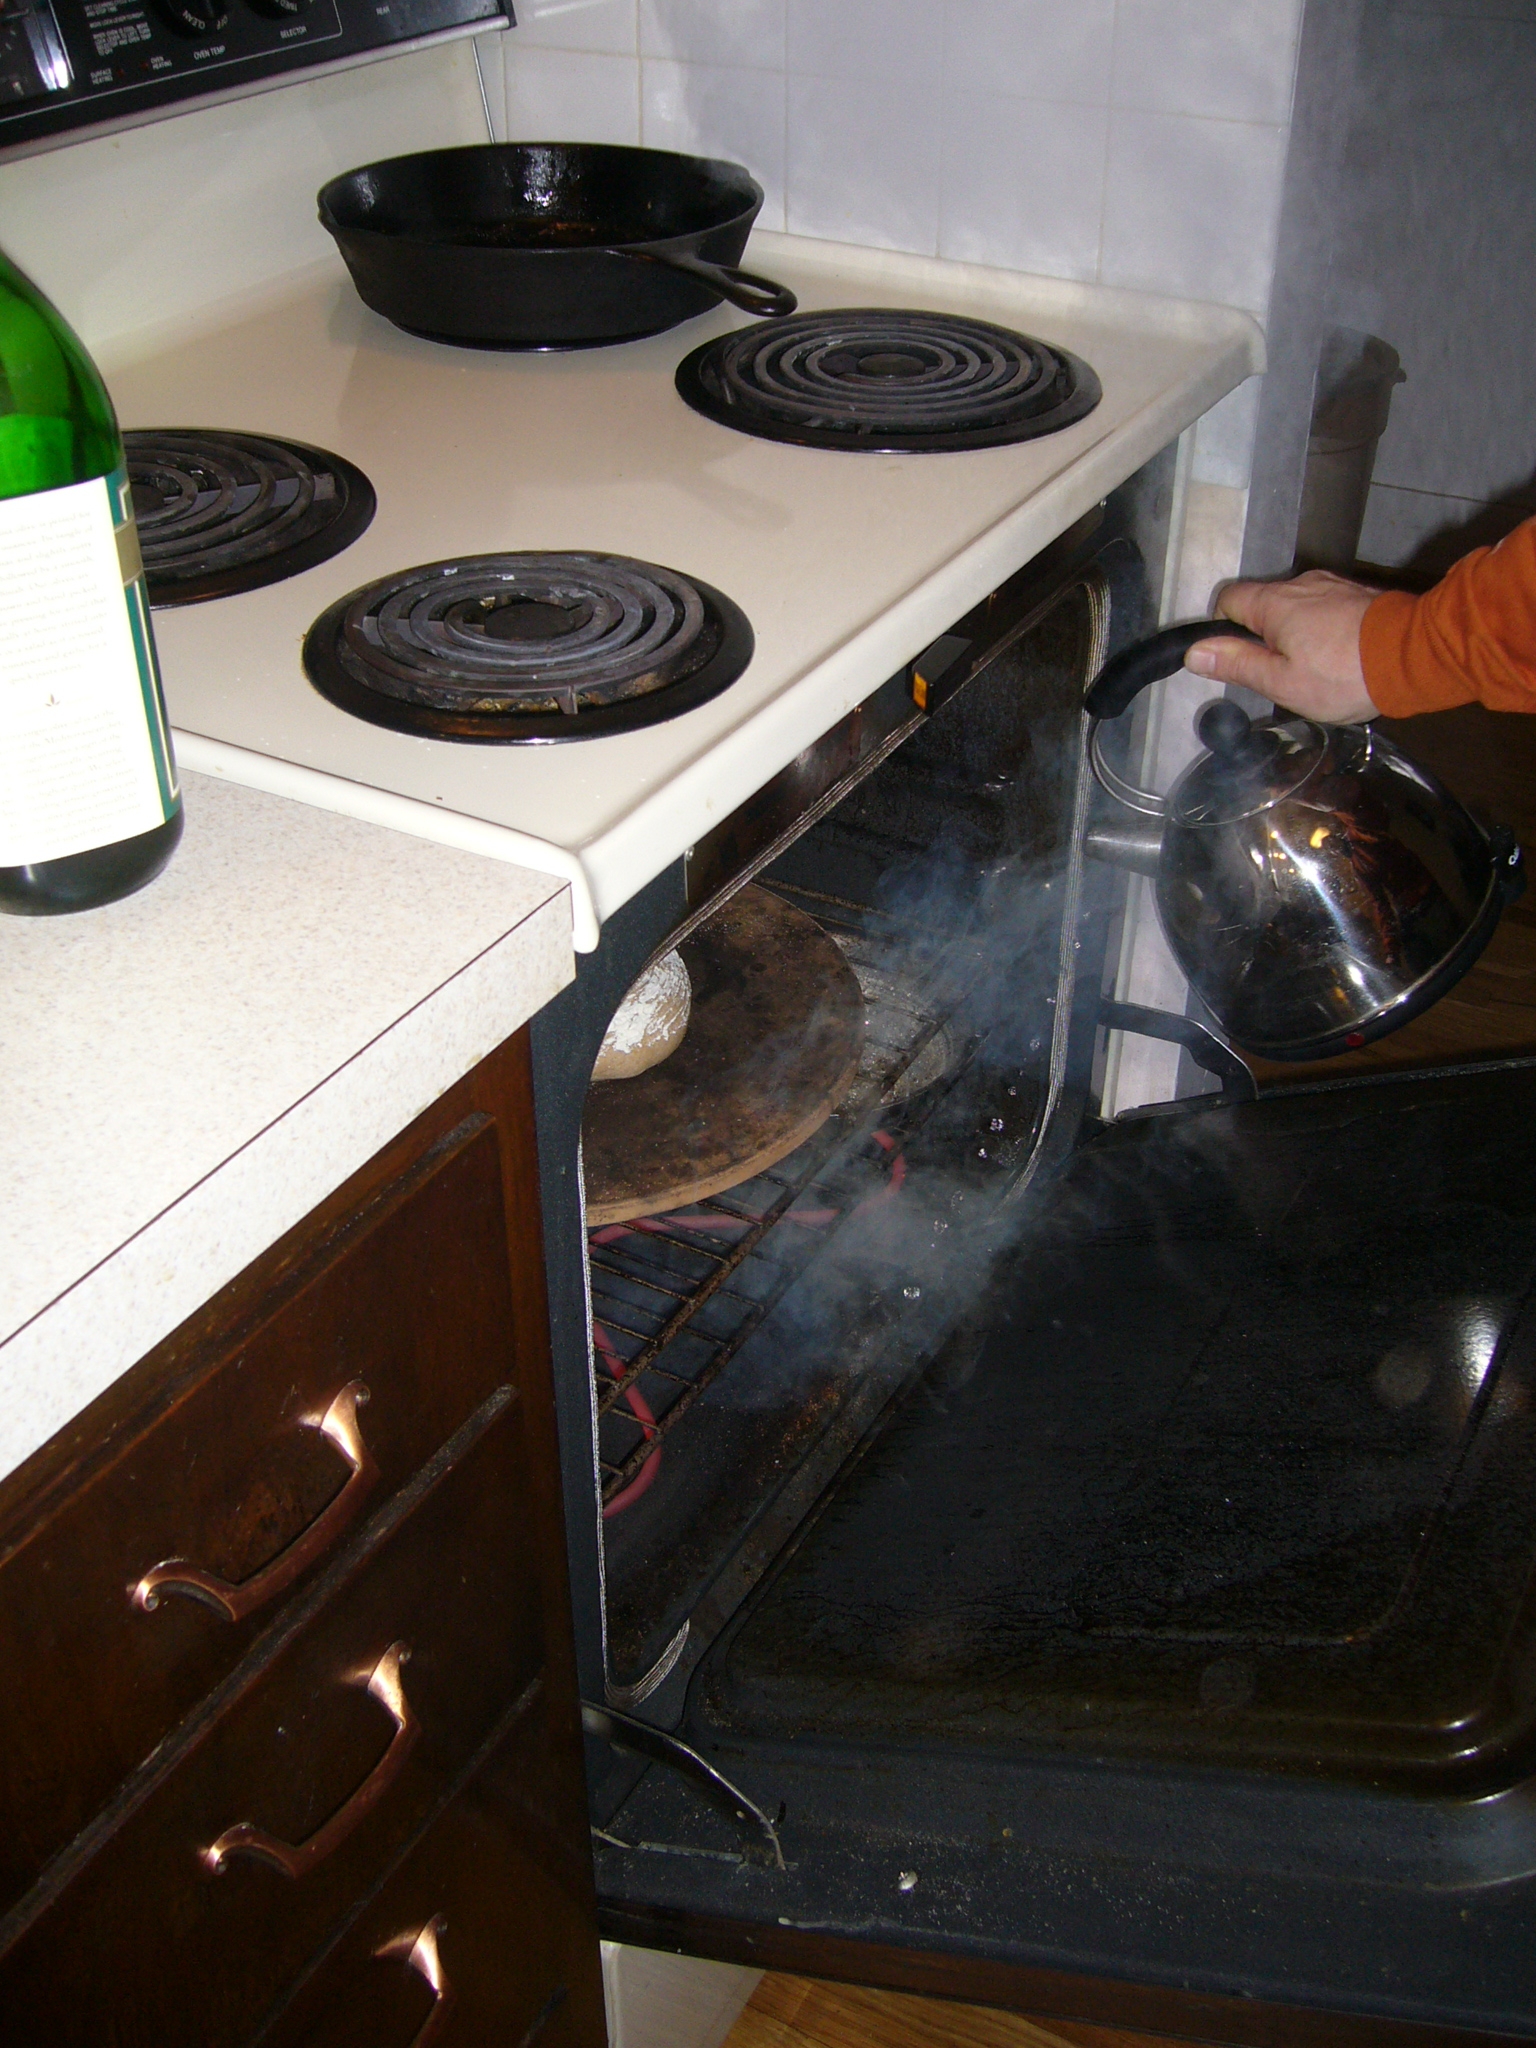
Proofing is where you shape the dough and let it go through its final rise. Before you shape or anything, you need to punch down the dough and let it rest for a few minutes. Get your poolish/chef glob for the starterPunch it down. After 5 minutes or so, get your bench scraper and lob off a hunk of dough about the size of a medium fist. This goes into your starter for the next batch. I keep mine in plastic food container that is stackable in the refrigerator. Just mix it in with your wooden spoon. It doesn't have to be super mixed, but since the starter is pretty tacky, it's easy to work in the dough. ShapeThere are lots of books and websites that will show you how to properly shape dough for different loaf styles. I'm not there yet. We just lob it off and try to make a nice, sealed glob with a taut surface. We proof in baskets that have some flour dusted in them. We bake on a stone in the oven. I think that's an important part. If you don't have a stone, give it a shot in bread pans and let me know how it goes. ProofThis is another flavor spot in the process. We always proof overnight. Liza only allows baking in the fall/winter so, we just put the loaves on a tray, cover them with a thickish cotton cloth, and stash them in the garage overnight. Temp so far this year has high-20's to mid-40's in the garage. We don't have a car or start any engines in the garage either. Baking
As noted above, we bake with a stone. I've tried pans and fancy french loaf pans, but my favorite is just on the stone. We have the stone on the second-to-lowest rack of the oven. We have an old aluminum saute pan on the lowest rack of the oven.
Eating, Storing, Freezing, Re-heatingWe store our bread in a "bread bag," which is just a heavy cotton bag in a dark drawer in our kitchen. we freeze this bread all the time. Freezes great. To thaw, just let it sit on a counter until it's not hard. Then let it sit for another 40 minutes or so. Re-heating: get the oven going to about 350F, and put a thawed loaf in for 10-15 minutes. This bread re-heats/crisps really well. |


